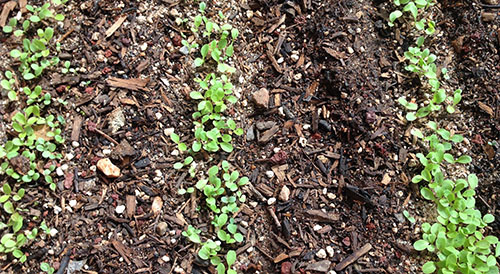
lettuce planted heavily for mesclun (cut and come again)
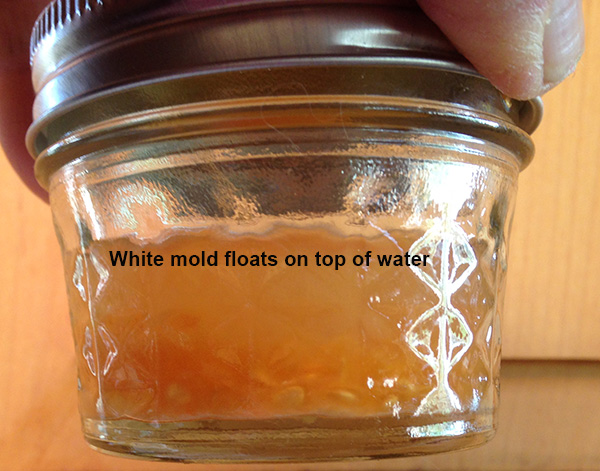
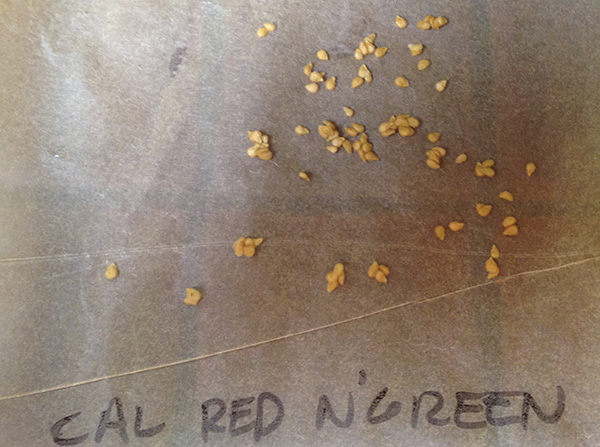
I just went through my lettuce, spinach and arugula seeds to see if the seeds are still viable. Lettuce seeds last from 1-6 years so look on your packages to see the date they were packaged.
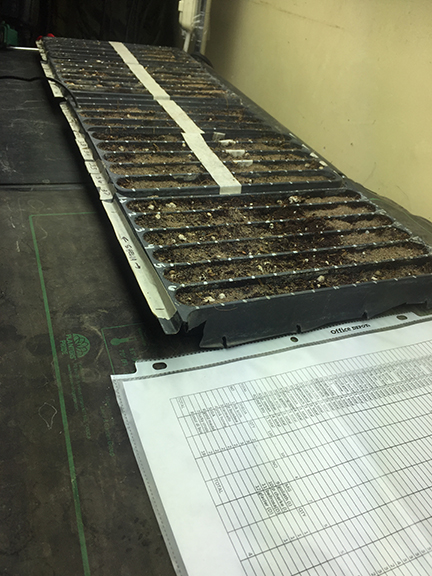
There are several ways to grow cold season crops:outside by direct seeding or inside under lights. For this post I will discuss planting OUTSIDE. A previous post was on planting seeds inside. Two very different scenarios.
I use to plant later outside, and the crops would bolt (produce flower stalk and get bitter) as soon as we got some warm weather.
I think most people plant their lettuce, spinach and arugula way too late outside.
PLANTING BY DIRECT SEED OUTSIDE:
If you plant seeds outside in April, it will get warm sometime in May and the crops will bolt (grow flower stalks) and get bitter. I’ve learned to plant earlier. Warm temps one day and freezing cold weather on another day-fickle weather!
STARTING DATES
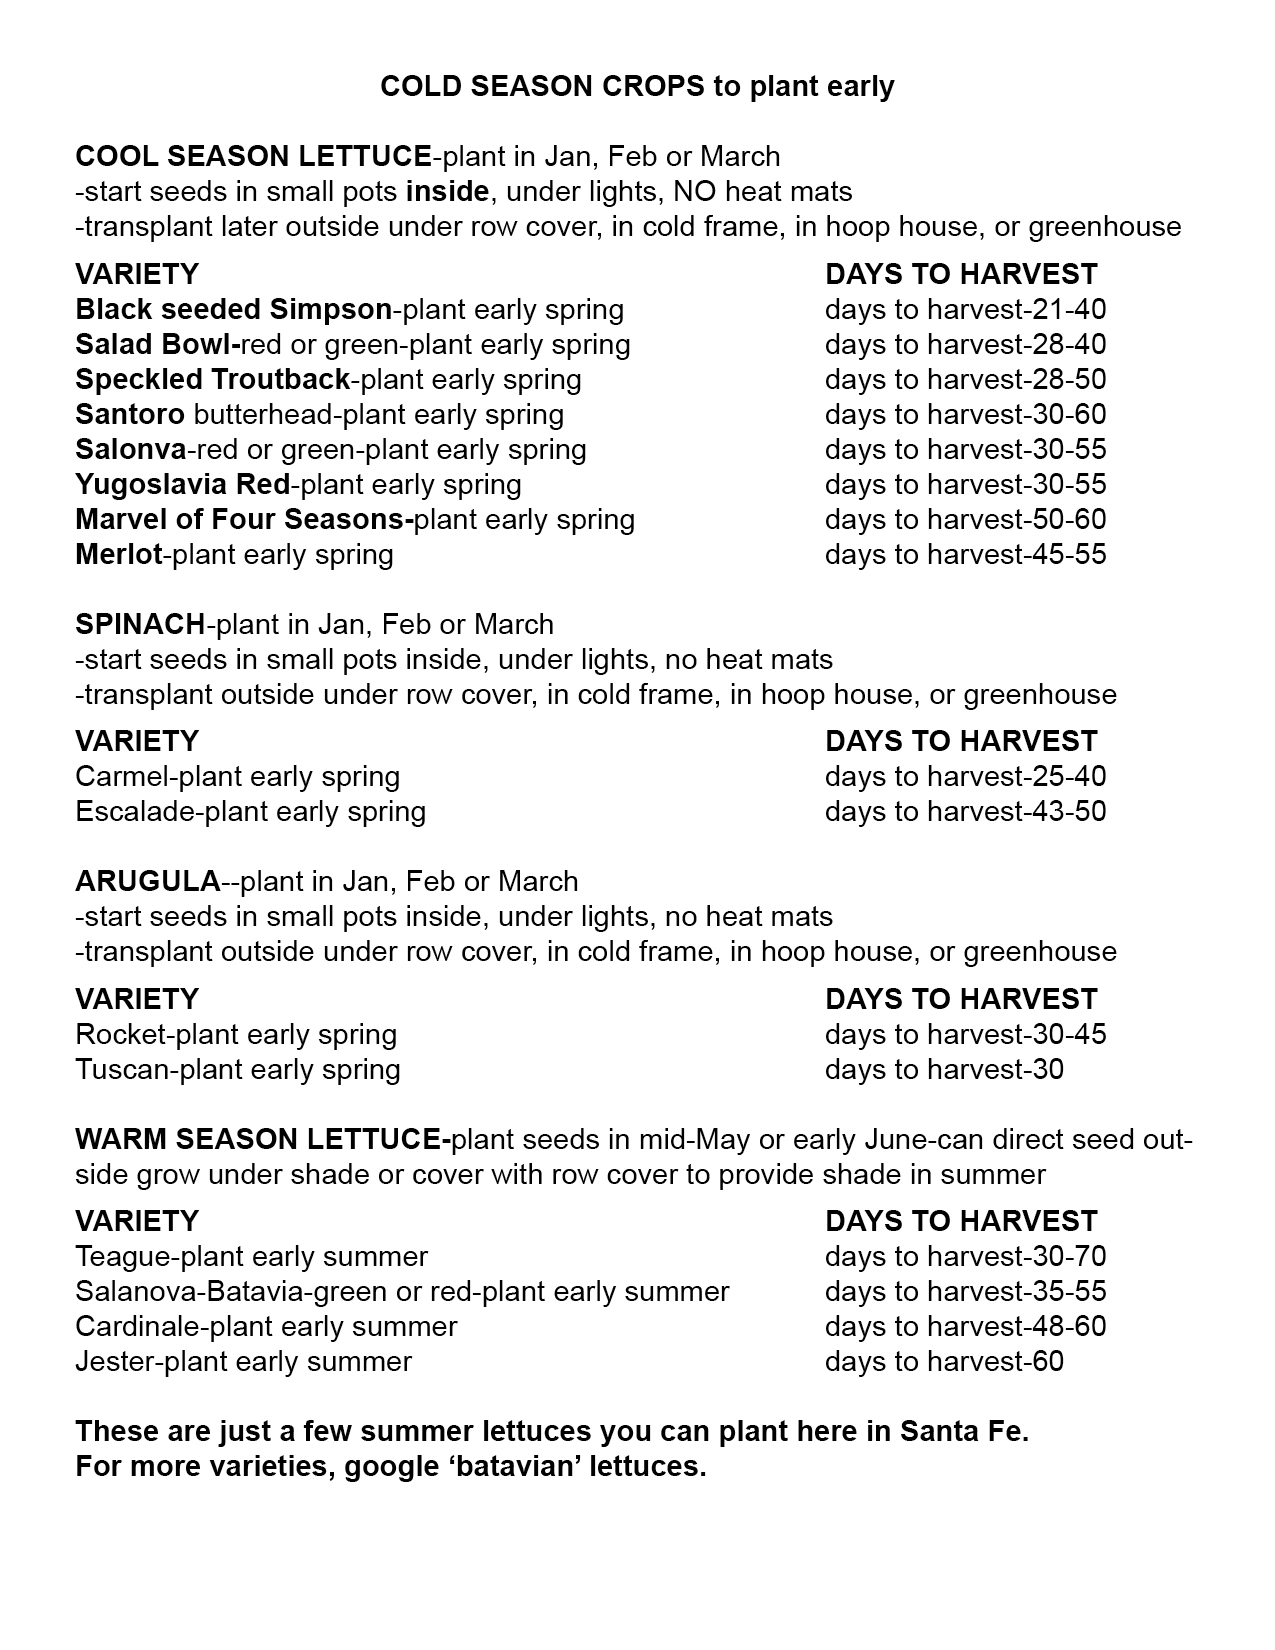
To beat planting too late, back up your start date for starting seeds (for example 30-45 days) depending on Days to Harvest for each variety (see chart below) from the time you want to start harvesting them. So if you want to start harvesting in early April, start 30 days earlier in the ground. If you see dates on the seed package or on a chart, that means you can start picking outer leaves around the earlier date and harvest whole plants on the later dates. Don’t take any leaves from the center where they are produced or you can kill the plant. Only take the outer leaves. This scenario of course depends on the soil temp when you plant. Planting outside takes longer for germination. ALSO don’t plant all the seeds at once but stagger the planting dates so you can get a continuous supply.
Here is the chart below in a pdf format for you to print:
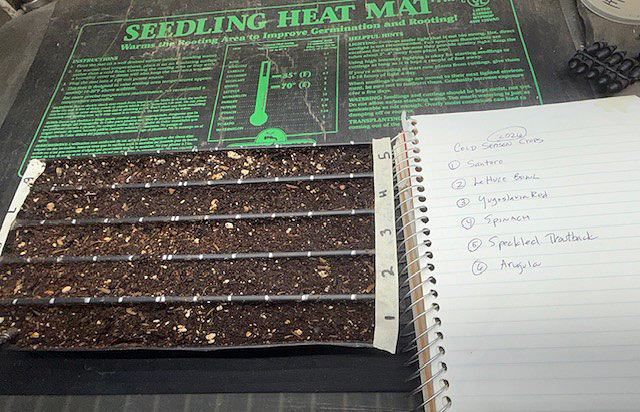
COLD SEASON CROPS to plant early-days to harvest
 SOIL TEMPERATURE
-When direct seeding outside, the soil needs to be a little warm (at least 40 degrees) or the plants may have trouble germinating. You’ll need to get either a soil thermometer or a compost thermometer.
A soil thermometer is good for taking temps in shallow soil. A compost thermometer is good for taking the temps deeper in a compost pile. But with a compost thermometer, you can check the temp deeply in a compost pile or shallow for soil temperatures. You will not have to measure the temp deeply for greens-maybe 1-2″ deep max because you will plant them so shallow.
-Lightly loosen your soil (like 3 inches) unless you have never started a garden in which case you’ll need to dig it deeper-5-6 inches. Add compost, rake in.
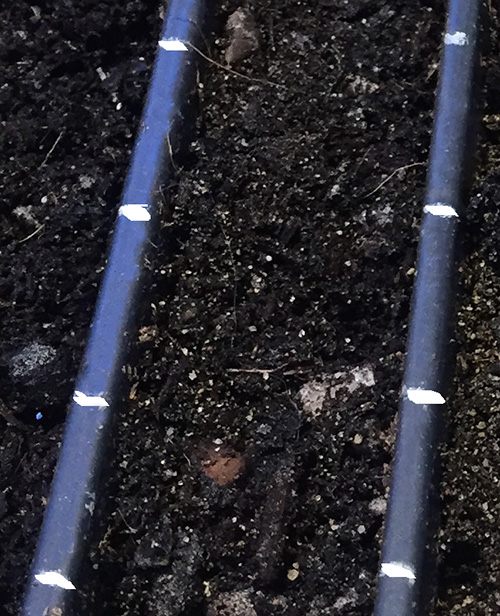
-Make a row for lettuce, arugula, spinach. Plant seeds as directed on package. Add maybe a 1/4 ” of soil on top or I like to sprinkle play sand over the seeds to barely cover them. Most greens don’t need to be planted deep. You will have to water by hand with a hose or bucket till it warmer.
-Don’t forget to water everyday after planting seeds! If you do direct seed outside in early March, cover the bed with one sheet of medium weight row cover directly over the dirt where you planted the seeds. Row cover should help protect the seedlings as they come up. Cold Hardy crops can handle colder weather in early spring. On really cold nights, add 2 layers of row cover. Pull off the layers the next day when it is warmer and cover plants at night.

-In addition, if you have a raised bed, you could put some row cover over the seedlings. Place another row cover on top of the hoops, including the ends, so this will essentially add double protection. If you already have hoops, you probably can get by with just the one layer unless it will be below freezing.
I went back thru this blog and pulled another post when I did a class on growing lettuce outside.