On August 31, my vegetable garden was in the Santa Fe Extension Master Gardener’s private garden tours. People had lots of questions. I thought it might be helpful to address them on my blog so everyone would have access to the information I shared.
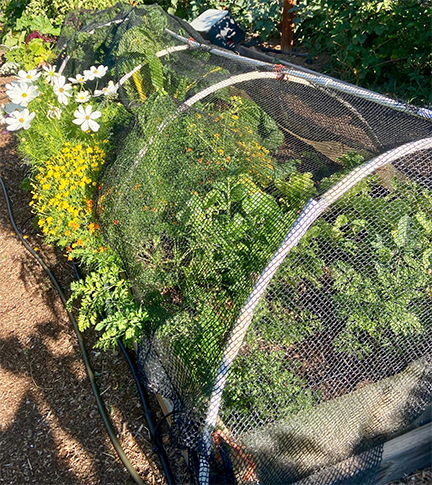
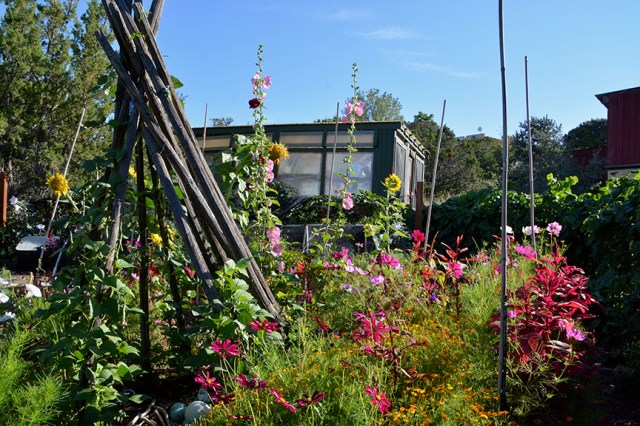
When you walk into the vegetable garden, there are immediately two beds with many annual flowers-cosmos, zinnias, hollyhocks, red amaranth, sunflowers and marigolds. More flowers will attract pollinators and beneficial bugs.
 Gem Marigolds
This one was most asked about. You can buy seeds on line. This variety keeps flowering, creating huge bouquets of little flowers. I let them dry in the fall and shake them where I want them to reseed the next year.

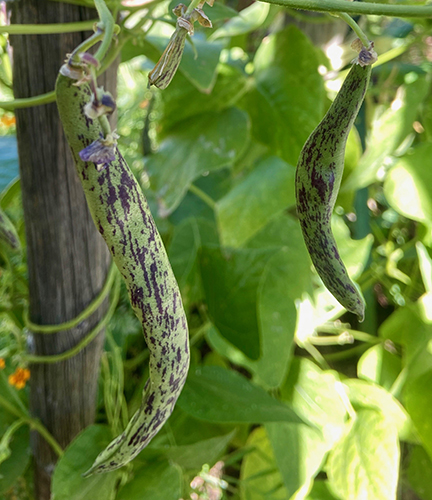
Rattlesnake beans Around a big pole teepee are Rattlesnake beans, (green bean) which are very heat tolerant. Great for our warm climate.
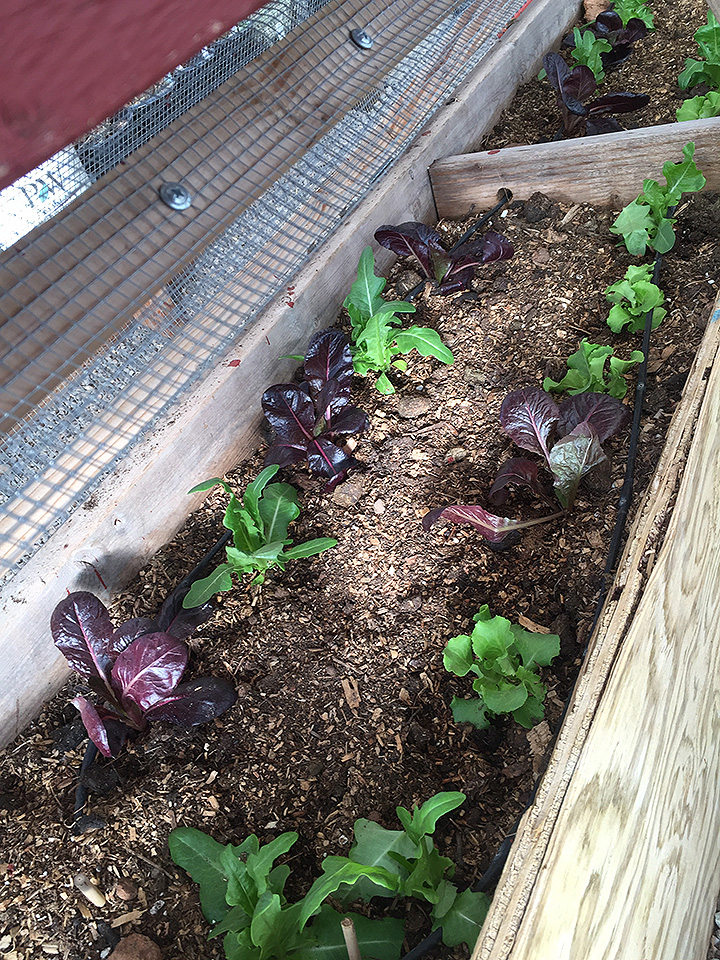
 Kalibos Cabbage
A beautiful red cone shaped cabbage. The head gets very big and when I want to harvest it, I need a sawzall to cut it off at the stem because it is so thick! It has a sweet mild flavor.
Fertilizers
All the vegetable/berry plants are fertilized once a month with a combo of fish fertilizer and liquid seaweed sprayed on the leaves with a hand-held one-gallon sprayer.
Diseases
I use Monterey Complete Disease Control (organic) for Early Blight and Septoria on tomatoes and Powdery Mildew on all cucurbits. I add this with the fertilizers above and spray everything all at once. Also rotate crops every year to help suppress diseases.
Insecticides
For the last several years I haven’t used insecticides. I grow many flowers that attract beneficial bugs that help keep the bugs under control. But when I do have bad bugs, I use organic Neem in a hand held sprayer. Spray in morning to avoid possibly burning the leaves.
Pests
I use snap traps on gophers, mice and rats.
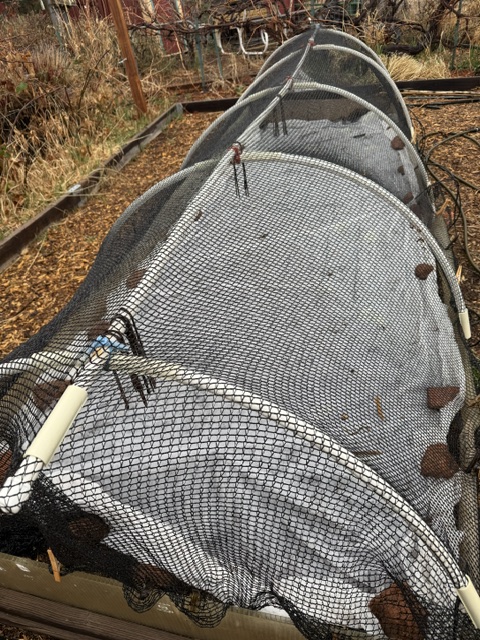
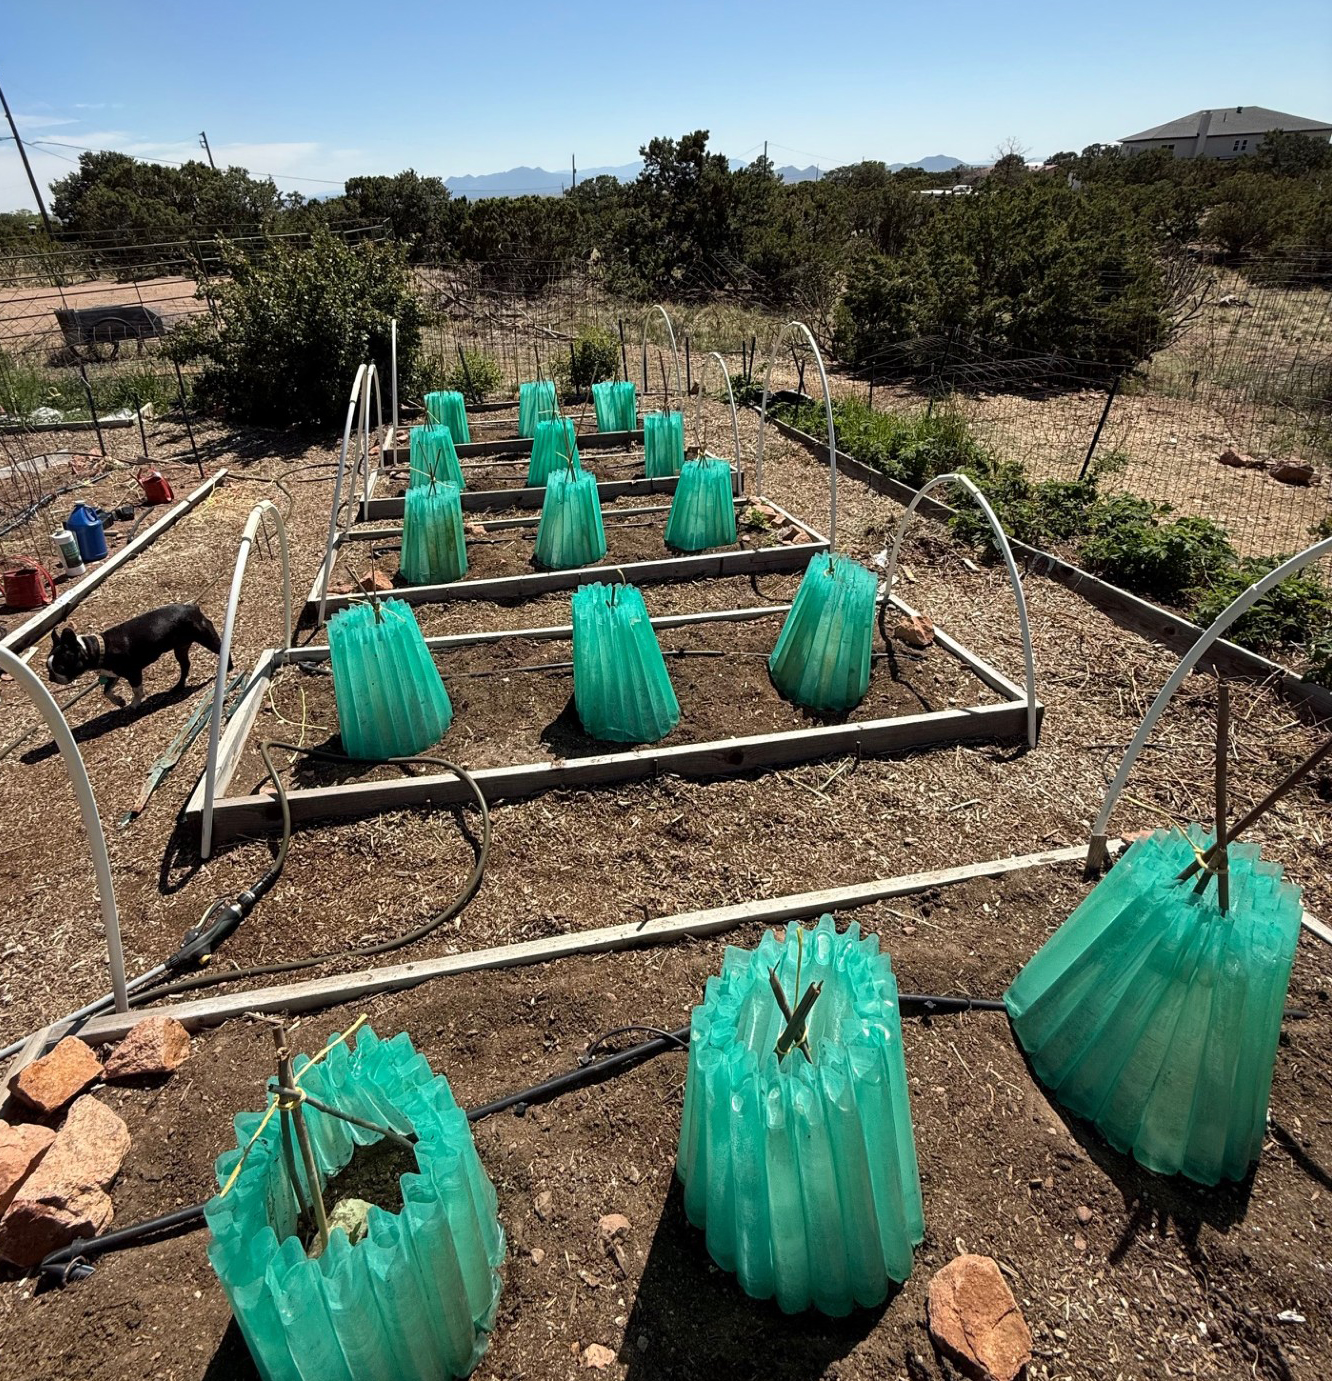
 Shade Cloth
I put 30% shade cloth over almost all my plants.
I get it at johnnyseeds online. I like shade cloth because it keeps most hail out, keeps many moths out of my garden (like cabbage moths) and provides relief from the sun for our vegetable plants-even full sun plants. You’ll have to get it online as the local big box stores have 80-90% shade cloth which is too dark.
Hose
I know this seems like a weird subject, but we’ve all experience hoses that heavy and kink. This is the best hose ever-it NEVER KINKS. Don’t be fooled by its smaller diameter and light weight; this is a great hose and worth every penny. Because it’s expensive, I always bring it inside in the winter. I bought the 500 series at Water Right Hose It can also be found on Amazon.
Soil Amendments
Making good soil is the most important thing you can do for an abundant garden. Here’s what I do:
Compost
Every year I put 2” of compost I make on top of my beds in the spring and lightly dig it in. We have such bad soil out here in our area that I think this is the most important thing to do each year. If you do this, you’ll make healthy soil in a few years. If you don’t make compost, you can buy some locally here in Santa Fe from Reunity Resources. They don’t use horse manure so it is herbicide free.
Whenever you buy compost from soil yards, ask if they use horse manure to make it. Can they guarantee their compost to be herbicide free? Bagged compost is usually fine. Many hay growers spray their hay crops with commercial herbicides similar to RoundUp. If it is in horse manure to make compost, It will kill your crops and ruin your soil.
Azomite
Every 3-4 years I get Azomite from Amazon. Provides minerals and trace elements that plants use up from the soil. It is in powder form and in spring, I sprinkle it over all my annual beds and lightly dig in and for perennial plants I sprinkle it around the base of plants or over the foliage and water in.
More questions? Email me at jcabossel@hotmail.com