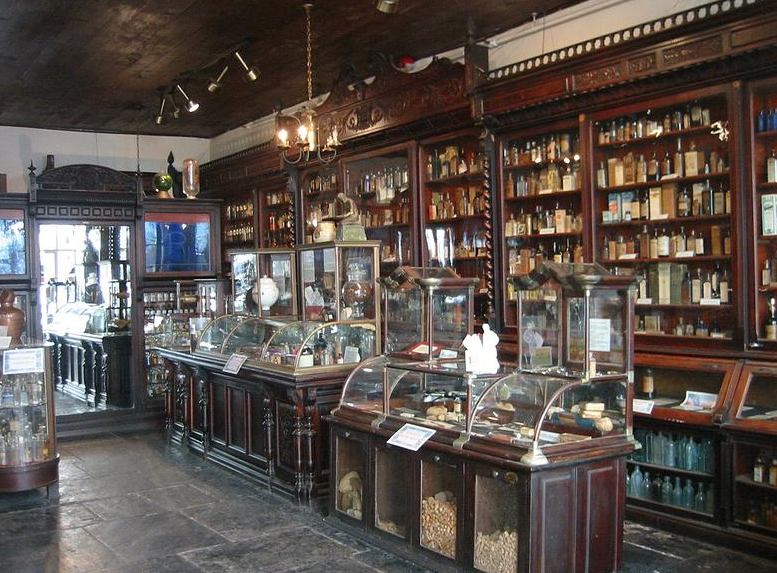
New Orleans Pharmacy Museum
This past fall I took a trip to New Orleans and while there took a tour of the New Orleans Pharmacy Museum where a pharmacist, Louis J. Dufilho, Jr. was the first to pass the national licensing examination in 1804, therefore making his pharmacy the first licensed United States apothecary shop. What does this have to do with plants-everything because as I toured the museum what became clear to me was the pharmacies of old were nothing like our current pharmacies where chemical drugs are sold to help heal aliments. The cures of yesteryear were plant-based and although some of them I’m sure didn’t work, I’m just as sure many did. So I saw the original ‘drugs’ that came from medicinal herbs and plants, not chemicals, and I saw things in a whole new way. Now I’ve known of some herbs that help with various aliments but never really connected the dots until I took a tour of that pharmacy. Gives me a whole new perspective on pharmacies and their beginnings. Sometimes going forward means looking backwards to see where we came from.
And speaking of pharmacies, soda fountains became popular in pharmacies where sweet syrups could be mixed with carbonated water and herbal concoctions to hide the bitter taste. Coca-Cola, one of the most famous fountain drinks, was invented by an Atlanta pharmacist, John Pemberton in the late 19th century. It was intended to be used as a medicine. Coca-Cola’s name came from its two ‘medicinal’ plant ingredients—coca leaves and kola nuts, hence the name. Coca-Cola originally had some cocaine in it from the coca leaves although no one knows how much as it’s recipe was and still is a secret. Coca-Cola was completely cocaine free by 1929 being replaced with caffeine. For more of this interesting story go here: http://www.snopes.com/cokelore/cocaine.asp