 Tomatoes in wall of waters (wow) May 23, 2025
Today Elodie and Bob and myself planted 18 tomato starts today.THANK YOU! YOU BOTH ARE THE BEST!
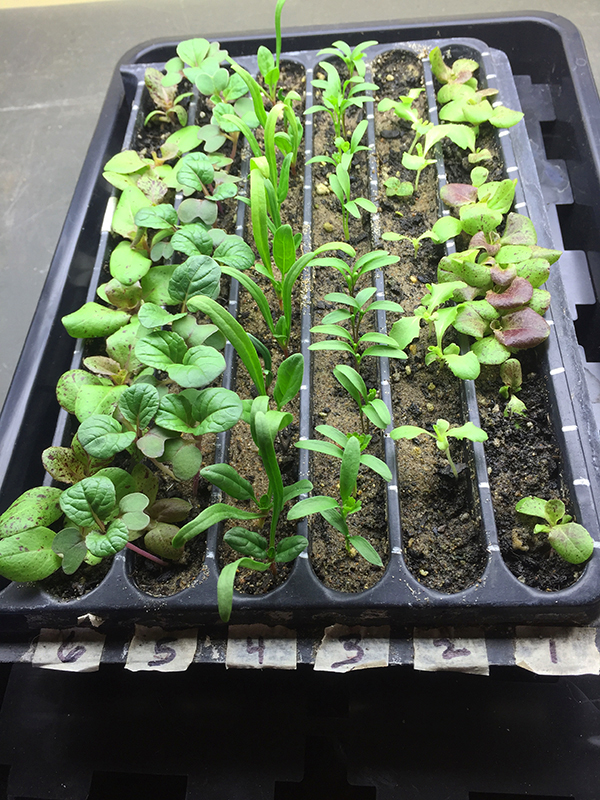
I grew them from seeds inside the house under lights and heat mats since early spring. The tomatoes are so happy to be free-FREE at last! I don’t think I’ve ever put them in so late.
I was suppose to plant them on Monday but the weather was horrible and the nightime temp was down to 31 degrees at our house so I’m glad I waited. It was so cold and windy this past week-what a difference a few days can make. No need to stress them out.
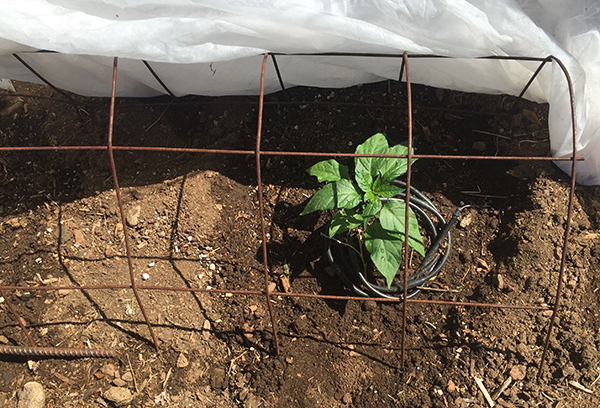
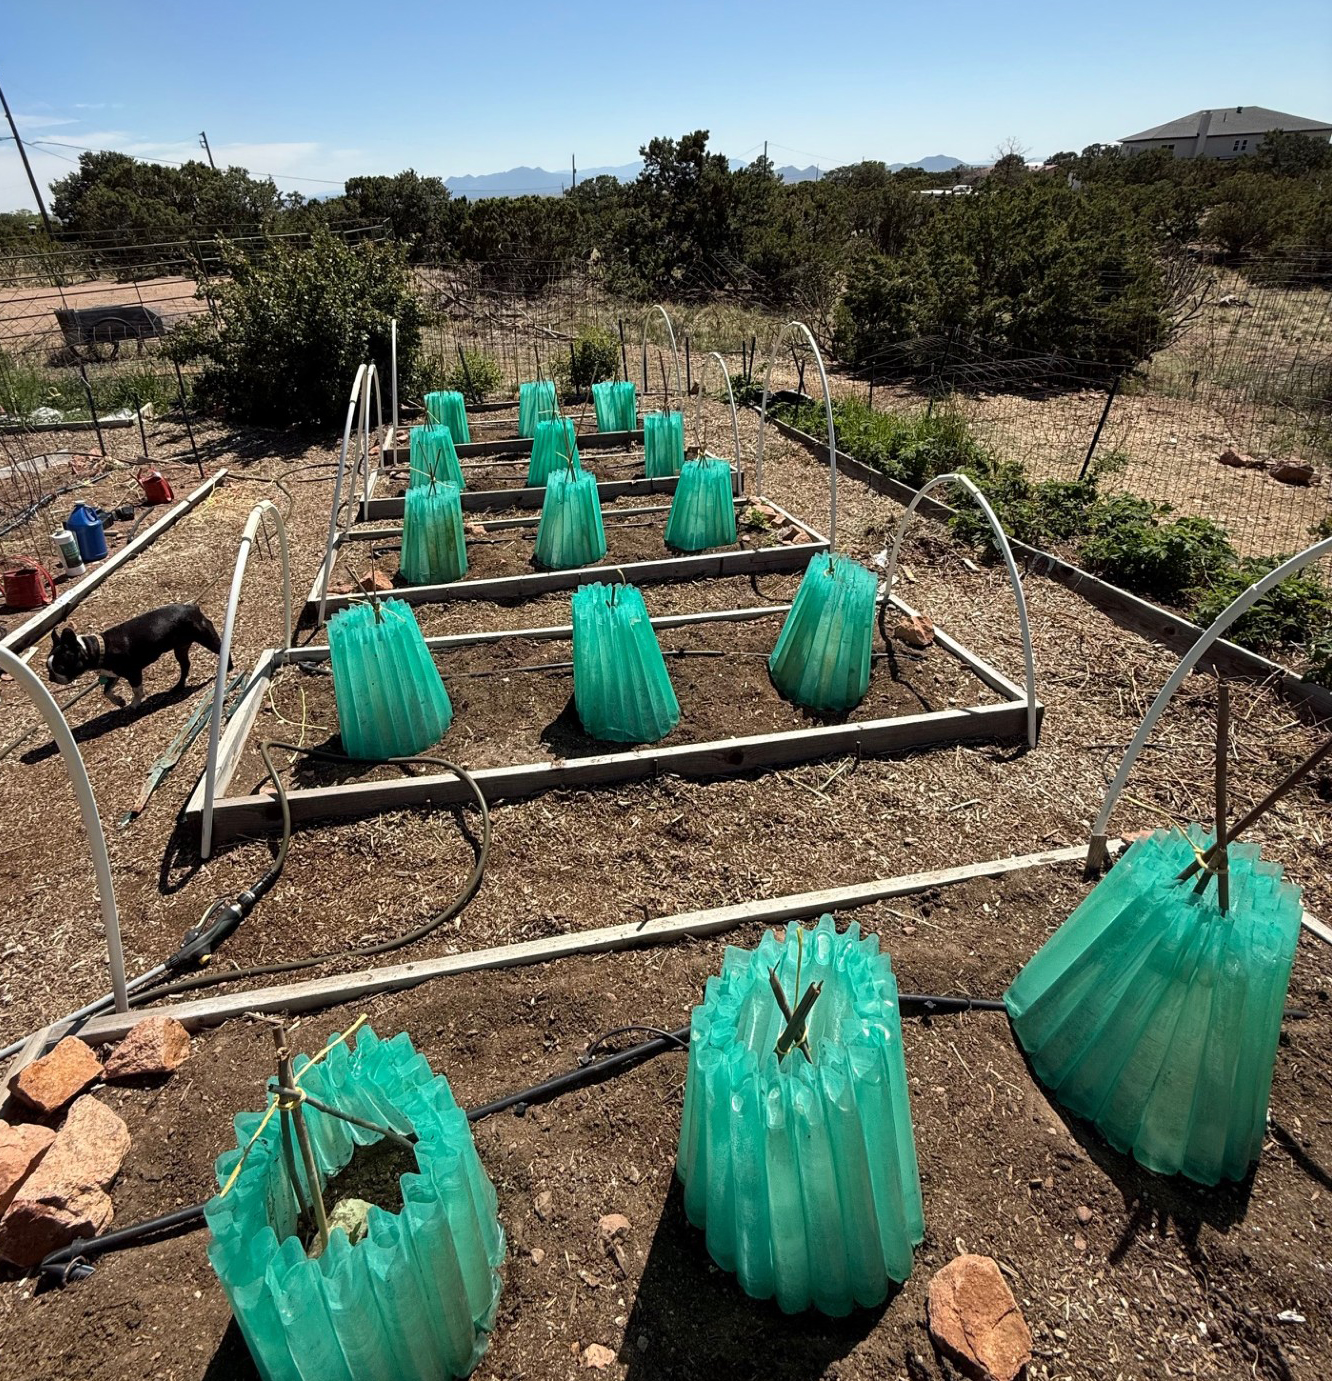
We did plant them in wall of waters (WOWs) out in the veggie garden to help with our cold nights. I will take off the WOWs sometime in June when the plants either reach the top of the WOWs or the temperature gets into the 90’s. You don’t want to leave them on when it gets hot-you could fry them. But the weather has warmed up nicely and today the high is 80 today and a low of 48 degrees tonight. Perfect temps!
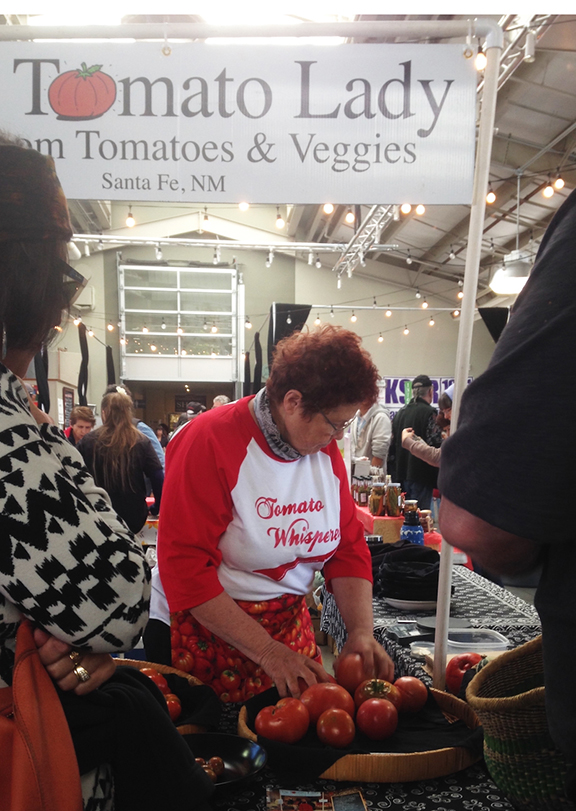
18 tomatoes is smallest number of tomato plants I’ve ever planted. Back when I was at the Santa Fe Farmers Market selling tomatoes, I use to grow 120 tomato plants and would sell out by 11 am. I’m so glad I retired from the Farmers’ Market after ten years there. Farmers work hard!
Now it’s a more reasonable pace. As I’ve gotten older, I realize I need to slow down a little and I’m glad I listen to my inner voice (sometimes). With age comes wisdom (well, maybe a little!)