One of my giant pumpkins in 2011. Wasn’t she beautiful?
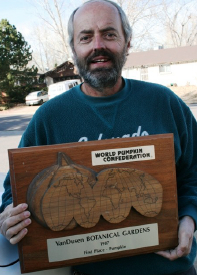
I am trying to grow giant pumpkins again this year and haven’t talked much about them as I have not had good luck growing them the last 3 years. I broke the NM State Record for giant pumpkin in 2010 and broke my record in 2011 and then my record was broken in 2012 by someone else. Since then, nobody has set any records here for New Mexico as far as I know. It is not as easy as I first thought. I must have had beginner’s luck.

This was back in 2008-my first year of growing giant pumpkins
If you can get one to take and keep growing, nothing is more beautiful in the garden than seeing these huge orange globes in a sea of green leaves!
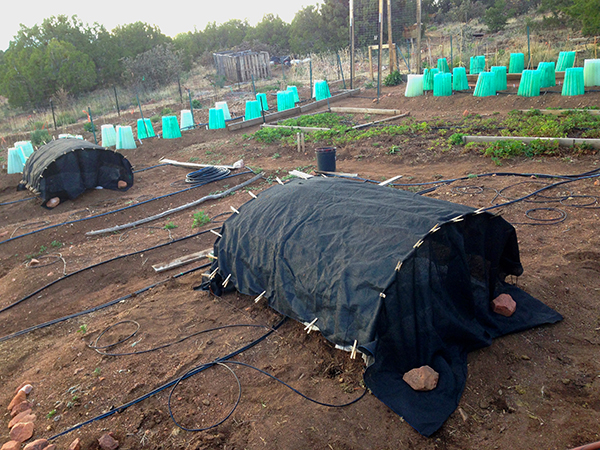
This year, I bought some seeds from the world record holder 0ver 2300 lb and both of them never germinated. Arrgh! So now I’m down to 2 pumpkin plants that came from a 2009 lb pumpkin and 1 pumpkin plant from an 1879 lb pumpkin and 1 pumpkin plant from an 1135 lb pumpkin. The 1135 pumpkin plant had some animal dig by it and it got buried for a while but might come back. Actually doesn’t look too bad but should be growing a little faster-it might have been set back from the incident. That’s why I grow more than one-sh*t happens. And the last 3 years, it’s happened a lot regarding giant pumpkins.

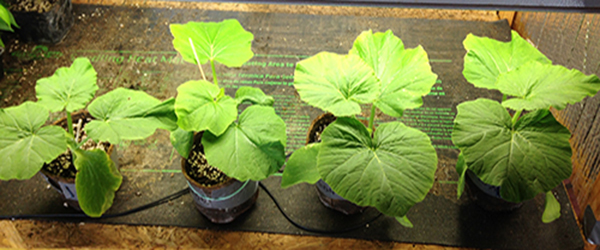
giant pumpkin plant from 2009lb pumpkin
So far, one of the 2009 (grower-Langevin) pumpkin plants looks very good, growing nicely, the other one is a little slower but still good and the 1873 (grower-Steil) plant is looking pretty good too. A glimmer of hope! I fertilized all of them on Monday with a cocktail that had fish fertilizer, mycorrhizal, Azos, kelp emulsion and 2 fungicides-Rootshield Plus and Companion. I give them some fungicides because I’ve had some die from some fungal wilt before so I’m trying to be preventative. I always say I’m giving them some juice which really is a cocktail of a mix of things all at once and all must be compatible. All giant pumpkins are BIG EATERS so fertilize them 1x a week with at the least fish/seaweed fertilizer. My first year I only did that and got some 200-300 lbers. This is not like the ‘Biggest Losers’ show where you starve the pumpkins in our lousy soil but more like the ‘Biggest Winners’ by feeding them a lot and giving them a lot of water too. You don’t get to be 500-1000 lb+ in 4 months without feeding them every week.
Except for the 1138 pumpkin plant, all giant pumpkin plants are in section 3 of my main garden. I have a mantra I say every time I look at them, “Grow nangua, grow!” It means pumpkin in Chinese. I guess I hope it brings me good luck this year! Time will tell…