251 pounds of tomatoes!

Well I figured out that I canned 251 lbs of tomatoes this year. I made 52 jars of different pasta sauces (Puttanesca, Penne alla Vodka, Fantastico spaghetti sauce and Fruiti di Mare sauce. Each one has it’s own unique flavors. Plus I made plain old tomato sauce and Texas BBQ sauce.  I’m well stocked for the year and gave many jars away to friends. Truly a labor of love!

Growing and preserving cabbage

As I’ve written before I’ve grown a cabbage that I really like called Kalibos. It is a beautiful red cone shaped cabbage that takes pretty much all season to grow. It is very tasty and sweet. The good news is that it doesn’t bolt in the summer and is ready to harvest in the fall. I think I planted it in early May.

What I didn’t know is if you harvest it a little higher on the stalk, instead cutting it level with the ground, it will produce a bunch of baby cabbages on its offshoots. Now I have a few more baby cabbages to use. I harvested them of course before the big snow storm that came in.


Preserving cabbage

Two ways to preserve cabbage is by either refrigerating it or freezing. If you want to put it fresh in salads like coleslaw, then keep some of it in your refrigerator in a zip lock bag. If the cut edge looks a little dry, just trim it off If before use. I had my cabbage last from October to February last year.

If you are not sure how you will use your cabbage or have too much to use at one time, you can preserve some of it in the freezer.  To do that, quarter it, blanch it for 3 minutes in boiling water and immediately cool it in ice water to stop the cooking.  Then put it freezer bags and freeze the wedges. That way you can cut it into whatever size you need later. Blanching vegetables will stops the enzyme action which can cause loss of color and flavor. Or you can rough chop it and if you use this method, you’ll need to blanch it for 1.5 minutes instead of 3 minutes. Then cool it and put it freezer bags.

You can also preserve it by making sauerkraut, or kimchi or use other fermentation recipes as well. For a great sauerkraut recipe go to: http://funfermenting.com/veggie-sauerkraut/

Veggie chips-yams, beets, carrots & red potatoes

veggie chips final

After making kale chips, I thought why not try making other veggie chips from some of my vegetables. After all, I’ve seen veggie chips in the stores and thought it would be fun to try make some. So far I’ve done yams, beets, carrots and red potatoes. Some of them I did in the dehydrator and some I did in the oven.

mandolinemandoline setting


For all of them I used a mandoline. Mandolines are used for slicing things very thin. The one I got was not very expensive but does the job well. It has 4 settings with #1 setting slicing the thinnest and #4 the thickest and all of the settings still slice thinner than you could do with a kitchen knife. Not having used one before, I started using #1 setting which slices super thin. I then tried #2 setting which I liked better for the dehydrator and then used the #3 setting which worked even better for both the oven and the dehydrator. It was all an experiment. Here is how I did them:

Yams
I started using the #1 setting of the mandoline to slice the yams which was too thin. Hard to believe it can slice veggies that thin. More like shavings. One big yam filled 10 trays!  I like the dehydrator for these as you don’t have to watch them so closely and they keep their gorgeous color. After they were done, they were paper thin. Subsequent batches I used the #2 and #3 setting which were more like a potato chip in thickness.

yam sliced

After cutting the slices of yams, I put lemon juice on them, about a tablespoon of olive oil and massaged them in till everything is coated.

yams on dryer

Then I put them out on the trays. You have to spread them out being careful to not overlap them so they can crisp up.I lightly put some crushed rosemary on some of them and just lightly salted all of them. The rest just had salt but no rosemary. Experiment. I set the dehydrator to 145-150°F for 2 hours and then turned it down to 135°F till the chips were crispy. Hard to say how long they take as it depends how thin you slice them and what temperature you use. It took 2 hours for super thin and maybe 4 hours for the #2 setting on the mandoline. They should be crunchy like potato chips.

beets sliced

Beets
I used the#2 setting on the mandoline but think you can use the #3 setting as well for a more substantial bite. I put lemon juice and olive oil on some of them and on some of them I dipped in a cane sugar solution to make the beets sweeter-no lemon juice on those. I saw that as an ingredient in the store bought chips but afterwards felt it is not really necessary. Put on trays and lightly salt them.

carrots drying

Carrots
I used the #2-3 setting on the mandoline. Do the same as above with just olive oil and salt.


Red potatoes
For these I decided to try them in the oven as the thought of dehydrating raw potatoes didn’t really appeal to me. They were easy. I sliced them in my mandoline using the #3 setting which works well. I think they need to be a little thicker when using the oven as it gets done faster than using the dehydrator.

potatoes ready

When using the oven to dehydrate or baking the chips, you must really pay attention. If you do them in the oven, set your oven on 250°F (the lowest setting on many ovens). They cook pretty fast-about 45 minutes. You’ll have to watch them closely towards the end so not to burn them. Some recipes say set your oven at 300-400°F but when I did that they burned very quickly and were inedible.

For these I put about a tablespoon of apple cider vinegar and olive oil massaged in, then spread them out single layer on cookie sheet lined with parchment paper and then added salt on some, salt and pepper on others and salt and smoked paprika on still others. I tried onions but they turned out kinda funky.

potatoes_dried

Here are the finished potatoes.

I’m finished with tomatoes for the year 2015!

JC at Farmer's MarketFinally this week there are no more tomatoes sitting around in the house! FINITO! NONE! DONE! Nice to see the kitchen table again! This week I made the last batch of tomato tapenade and the last batch of raw tomato sauce (24 frozen gallon bags of raw tomato sauce). Phew! As a friend Deborah says, ‘That’s the part no one tells you about’-preserving your produce. It goes on and on and on for months. Soon before Christmas, I will have to can some spaghetti sauce from some of the bags of frozen sauce. But not now-I’m gonna take a week off!

JC with fishIn fact right now I’m on a flyfishing trip on the San Juan River below Navajo Dam in our cozy SCAMP trailer. It’s cold outside tonight-going to get down to a lovely 20F° but the trailer is nice and warm inside (thanks Nevan for getting that great heater!) and do you believe it, we have internet access which is great as you want to be inside by dark because of the cold and going to bed at 6pm is a little early for me. Tomorrow we start fishing for some big ol’ trout HOGS. The fishing shops said today the dry fly fishing has been great. So I hope to catch some montrous fish and get some R&R while here for a few days. Better get some sleep (what me?!), although I don’t plant (freudian slip meant to say plan) to be out too early tomorrow…

Kale

winterbor_russian red kale

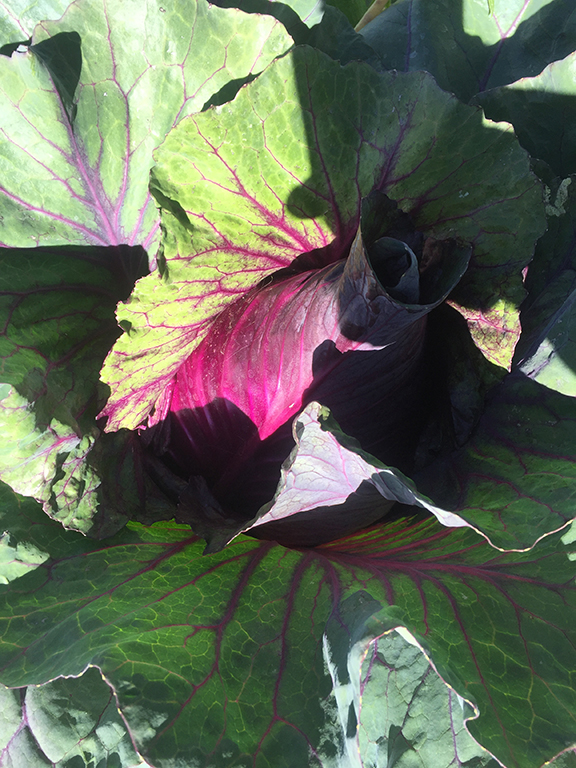
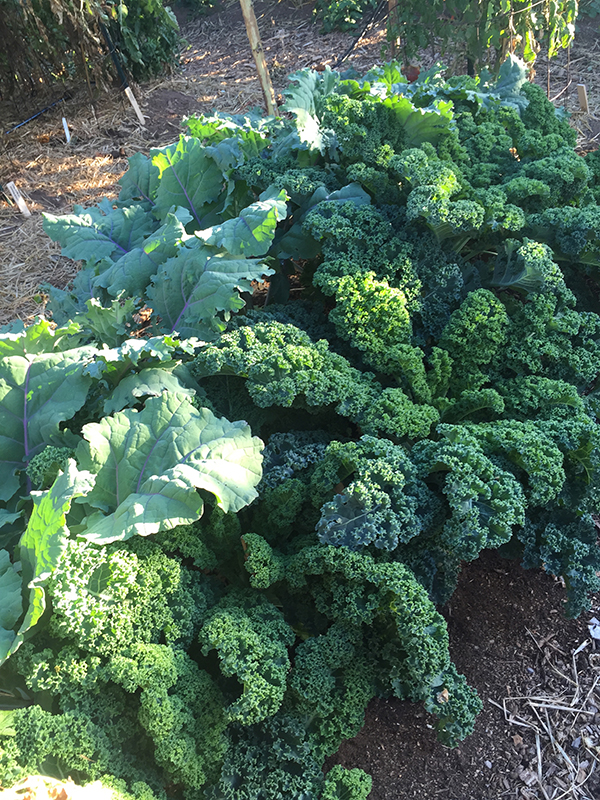
Russian Red Kale on left and Winterbor Curly Kale on right doing well with the cold nights

This year I grew 3 different varieties of kale-above is the Russian Red and Winterbor Curly kale growing together

lacinto kale

Lacinto kale (also known as Dino kale) It is the dark green in front of grape vine

Here is the Lacinto being shaded by the grape vine with carrots growing in front

Of the 3 varieties, Winterbor Curly Kale is my favorite and it is the most cold hardy. I started growing them the last week of July just before the Home Grown New Mexico Tour I was on. I had some holes in the garden so I ended putting some kale there. The Lacinto was partly shaded by a grape vine so it did not receive full sun. The Lacinto got heavily attacked by aphids. I sprayed all of them with water to help keep the aphid numbers down. But the Russian Red and Winterbor were planted elsewhere in the garden. I put them next to some tall tomato plants on one side and some tall sunflowers on the other side so they never got full sun either. They do well in our hot summers with some partial shade. They were not attacked by aphids. All three are still doing well. I’m not a great fan of kale so I’ve been looking for recipes that make me want to eat it. Here’s one wonderful way to eat it.

Kale Chips– you can use any variety of Kale to make this. This is now my favorite way to eat kale-dried! Kind of like potato chips but way more nutritional. Here’s a great simple recipe.

Kale Chips recipe courtesy of http://www.somastudio.net/2013/02/crispy-kale-chips/

Crispy Kale Chips
This kale chip recipe is easy to make and is so tasty you’ll want to make a double batch!

Ingredients:
2 big bunches of kale
1/2 cup raw tahini
1/4 cup olive oil
1/4 cup wheat free tamari
1/4 cup raw apple cider vinegar
1/4 cup nutritional yeast
2 cloves garlic
1 teaspoon onion powder
1 tpsp maple syrup
optional 1 tsp of chilli flakes

Instructions:
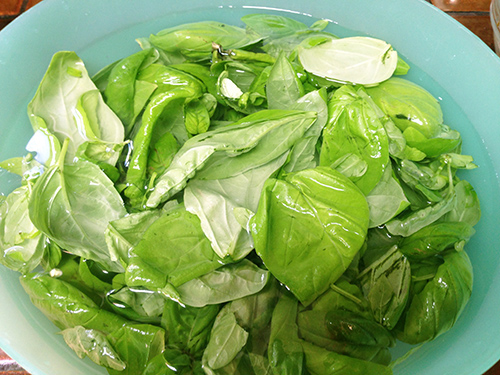
Rinse, de-rib, and rough tear the kale into a giant bowl.
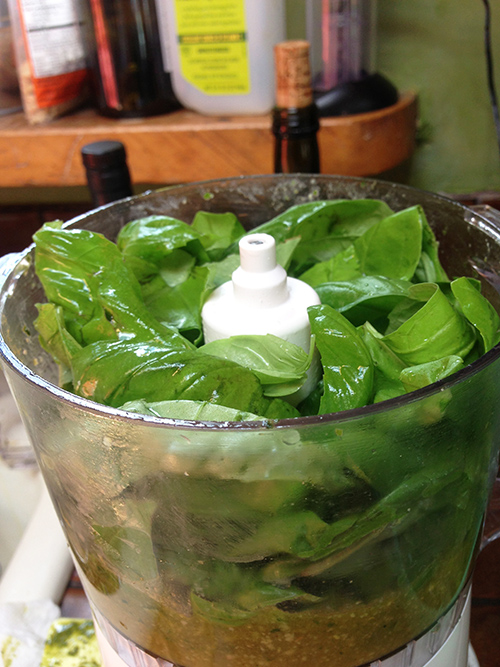
Put all the other ingredients into a food processor or blender and mix until smooth or use a hand blender
Pour the mixture over the kale, and use your hands to toss it all together. Squish Squish! Get it good and covered.

Oven method:
Spread the kale out evenly on lined or oiled cookie sheets. You want them to be as ‘dehydrated’ as possible, instead of baked.  250º for 4 hours (ish). Every oven is different so you’ll need keep an eye on it and be your own judge. Just remember that too much heat will change the flavor.  Don’t overcook them!

Here is the recipe in PDF format for printing:
Kale Chips recipe

___________________________________________

MORE METHODS

Dehydrator method by http://www.giantveggiegardener.com :
Spread the kale out evenly on the dehydrator trays. Set temperature 115°F° or lower for about 4 hrs or more. Chips should be dry and crunchy when done. Every dehydrator is different so drying time may vary. This is still considered raw food done this way.

Raw food is food that is dehydrated at 115° F or lower to be the most nutritious and not lose vitamins. Above that and you start losing the nutritional value.

Here is some visuals of the process:

kale_squishing

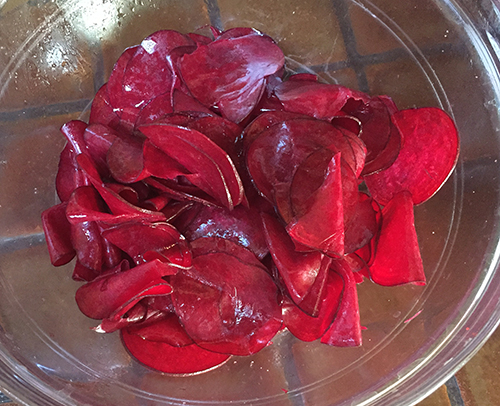
Put cleaned, dry kale in bowl with the recipe ingredients below and squish with your hands so kale is well coated.

kale_putting on trays

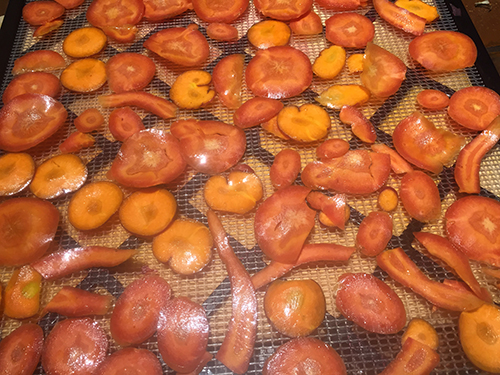
Put on dehydrator trays
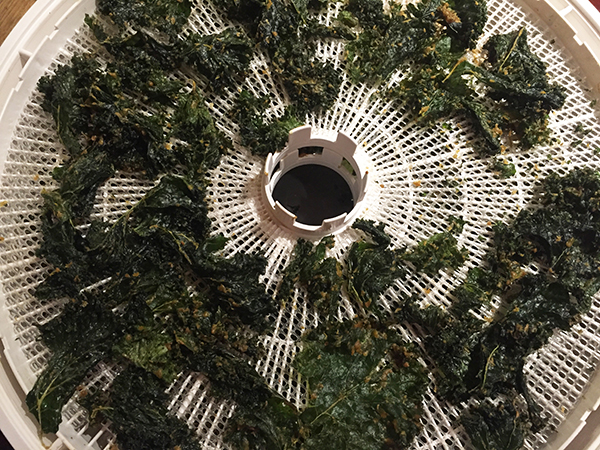
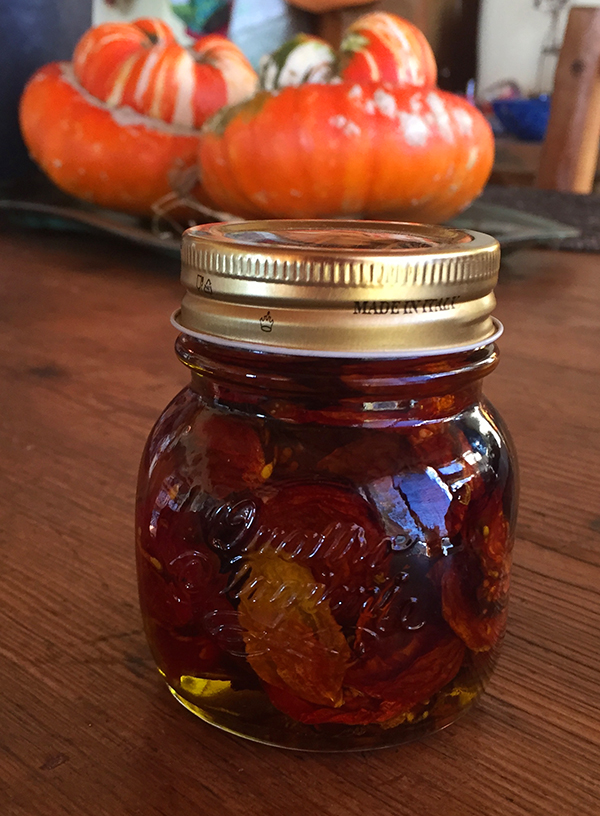
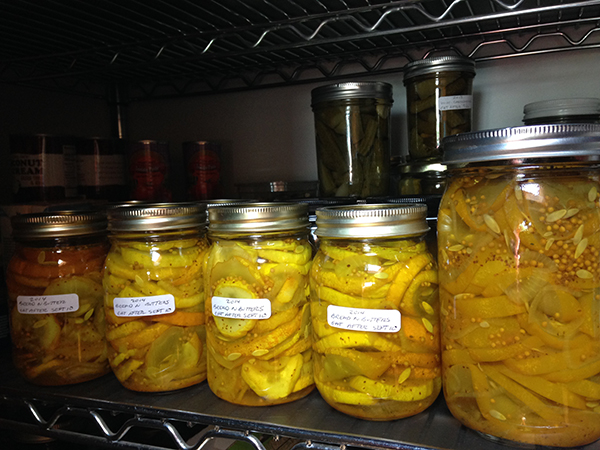
kale_drying

Dried Kale chips

kale_dried in jars

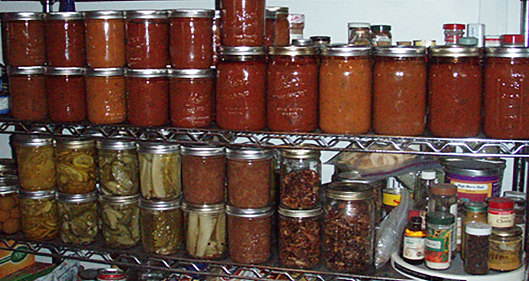
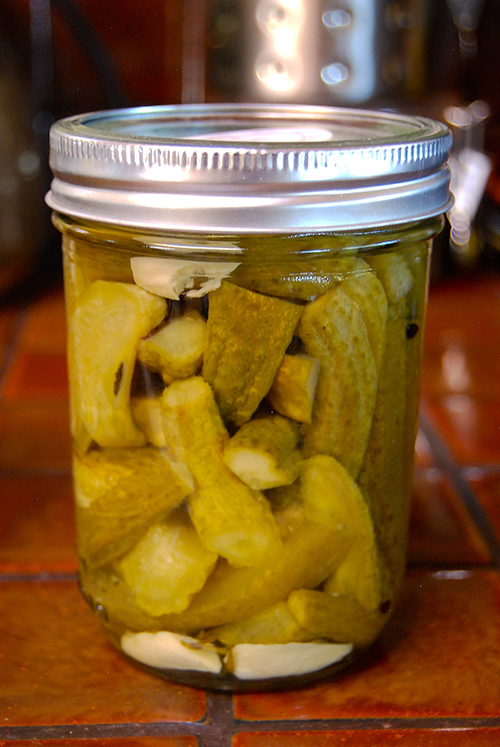
Store in jars or zip-loc baggies-I like storing in jars as the pieces don’t break up so much.


.


Drying tomatoes

IMG_7961

So someone gave me a jar of dehydrated tomatoes in olive oil and I thought they looked very beautiful and I know when you put them in pasta dishes, it’s bursts of intense tomato flavor. A great addition in the kitchen. So I thought, that’s what I can do with all those little cherry tomatoes! Look how beautiful they look when first put on the trays. I’ve dehydrated some during the last 2 weeks. I put all kinds together and not just cherry tomatoes.

tomatoes in oil

Here they are in the olive oil in a jar. I love these jars from Italy-Quattro Stagioni.
You can get them at Amazon. These are the 5 oz size.

I want to still eat some fresh while they last but there is definitely more than I or a small army can eat before they go bad. Today I also made 4 more pans of tomato tapenade. Pantry is getting full quick!

Garden Harvest Early October

oct 8 harvest

I love this time of year. It’s like the garden’s gone wild, everything ready for harvest all at once and a sense of urgency is felt by me and the vegetables to get it done. Get it picked, get it harvested and get it preserved. It is a crazy intense time as fall is here for real and soon we will have the first 32°F night (historically the middle of October). Right now nights are in the mid 40’s but that will change soon. The mornings require a sweatshirt in the garden now.

The sunflowers have come and gone, my cucumbers are done. I spent hours picking and pickling them as I love pickles. The zucchini are gone too. The green and purple beans are mostly finished. The shishitos and poblano peppers and eggplants are done as of this week. The 25 lbs of pears and 30 lbs of apples Michelle gave me are already dried into chips. The corn tassels are drying and soon I will see if my experiment of planting all pink kernels of Glass Gem corn will turn out pink ears or still be multi-colored. Either way is fine. The tomatoes are definitely fading, preferring much warmer nights and their size and harvest is getting smaller. I’m making tomato soup, tomato tapenade and tomato sauce like crazy-so far 18 gallon freezer bags of raw sauce in each that I will later make pasta sauces with (once the garden is done). Today was my last day at the Farmer’s Market as the Tomato Lady for this year as I will not get enough tomatoes again.

But the potatoes still need digging, the herbs need trimming and drying, Jimmy Nardello peppers are still kicking and need picking, the beets and carrots I planted in early spring are ready for harvest and the chard and different kales I planted in late July are loving the cooler weather now and will endure until we have really cold weather. Crazy busy around here.

Fall harvest season is full blast right now!

Harvest season is full blast right now. Started out with our Home Grown New Mexico ‘Jam On’ class where we made a Strawberry-balsamic jam and a terrific Blueberry jam.

Himrod grapes-yum!

Then the grapes ripened-ate lots and dried some into raisins for later.

bread n butter pickles

The cucumbers ripened so fast I was making lots of pickles. First I made bread and butter pickles, then cornichon pickles and then dill pickles-crock, refrigerator and canned. Must have about 30 jars+ and now the 5 gallon crock is full where I am fermenting some with salt brine. After I was bored with pickles,  I made some sweet pickle relish which I haven’t tasted yet. Will probably make more of that with the giant cucumbers I miss when looking for little ones. So far I’ve made pickles with Jody, Nick and Elodie.

peach jam and raisins

Then I bought 20 lbs of peaches from the Farmer’s Market and Mernie and I made 3 different peach jams.

9tomato sauce-finished in bags

Now the tomatoes are coming in and I’m starting to make the raw tomato sauce that I freeze in gallon plastic freezer bags. Later in November after I recover from harvesting, I will take them out of the freezer and make different pasta sauces like puttenesca, marinara, penne alla vodka and good ole spaghetti sauce.


Potatoes dug out just in the nick of time!

Potatoes dug out just in the nick of time!

Soon I will harvest potatoes too.

2013-part of the fall honey harvest

and we will harvest honey from the bee hive.

Of course then there is all I take to the Farmer’s Market that I harvest every week-tomatoes, eggplants, shishito peppers, beans, tomatillos and sometimes rhubarb, kale and chard when I have the room on the tables. Phew! Busy time of year!

The best part of it all is I haven’t bought any vegetables in the store since early July and I’ll have a full pantry for winter when harvest season is done.

Himrod grapes productive this year

This year my grape vines are doing fantastic and I only have 3 plants. The variety I planted 4 years ago is called Himrod which is a cross between Ontario and Thompson Seedless Grapes and is an American seedless table grape. It is a great eating variety to grow for our Zone 5-6 areas.  It produces bunches of green seedless grapes with honeylike flavor and are juicy. The taste is divine!

Last year we had many hail storms that destroyed the grape leaves and bruised the grapes so badly that there was no harvest and that would have been our first year of harvesting. This year I covered them every time I thought a hail storm was going to hit or if I left the house and it paid off. We have so many grapes we are now drying some of them. It’s interesting that the beautiful green grapes turn brown when they dry. The raisins taste great – can’t wait to cook with them.

Homemade Fresh Pesto

add basil leaves

Pesto is a such an easy thing to make and is so delicious that I don’t know why more people don’t make it. This summer I made fresh pesto with my mini food processor which I then froze for later use. I put some on pasta the other night and all the flavors of that fresh basil burst in my mouth just like when I first made it.

To make fresh pesto you can either grow your own plants or buy plants to use. I cut off all the leaves except the biggest to use in pesto. I keep the bigger leaves to add when making a pasta sauce to cook down. I do not use the flowers if there are any, as I think they give the pesto a slightly bitter taste.

fresh basil leaves soaking

Soak leaves for 15 minutes

I use Italian or Genovese basil to make my pesto and after I cut the leaves off, I soak the basil in bowl of water to freshen it up for about 15 minutes.

Blend salt. pine nuts, and olive oil

Blend salt. pine nuts, and olive oil

Put olive oil, sea salt, pine nuts, and garlic cloves into a blender or food processor and blend well.

Add drained basil leaves

Add drained basil leaves

Drain your basil leaves and add them and blend till smooth and creamy. If the mixture is really thick add more oil a little at a time till smooth. It should not look like thick chopped spinach but be a little thinner and smooth consistency!

Add parmesan cheese

Add parmesan cheese

Then add the grated cheese and blend again. Notice how it is finely grated and light and fluffy.

Finished pesto ready to freeze for later use.

Finished pesto ready to freeze for later use.

I like to put the finished pesto in freezer bags, taking as much of the air out of the bag as possible. Then lay the bags flat in the freezer. Be sure to not add too much to each bag as you want it thin enough to break off chunks of it later to use with your pasta. Above is the finished pesto ready to freeze. Here is the recipe:

FRESH BASIL PESTO
INGREDIENTS
1/2 extra-virgin olive oil (give or take a little) use a good grade
1/4-1/2 tsp coarse sea salt ( I use less as the cheese is salty)
1/4 pine nuts
2 garlic cloves
3-4 cups fresh Italian basil
1/2 cup Parmigiano-Reggiano Parmesan cheese, finely grated

Put olive oil, sea salt, pine nuts, and garlic cloves into a blender or food processor and blend. Drain your basil leaves and add them and blend till smooth and creamy. If the mixture is really thick add more oil a little at a time till smooth. It should not look like chopped spinach but be of thinner consistency! Then add the grated cheese and blend again. If you are not going to use it right away, put it in a bowl and add a small amount of oil on top of it to help keep the pesto from oxidizing.  This won’t hurt the flavor but will turn the pesto into a shade of Army green instead of its bright beautiful green color. I like to put it in freezer bags, taking as much of the air out of the bag as possible and lay it flat in the freezer. Be sure to not add too much to each bag as you want it thin enough to break off chunks of it later to use with your pasta. Never microwave the frozen pesto to soften it. I like to put it in a bowl on top of the stove (next to the pot of boiling pasta) where it will start to soften up. Then after I drain the pasta, I pour it over the pesto. The hot pasta will melt the pesto, then toss it to coat all the pasta evenly.  Add a little grated Parmigiano-Reggiano on top and enjoy.

Make tomato sauce the easy way!

2tomato sauce-making sauce

By now you’ve probably finished harvesting and making your tomato sauce but I have to share how I do it.

I grow many tomatoes each year and make LOTS of tomato sauce as a result. But canning it doesn’t happen until late fall after harvest season is done.

I use to make it the old fashion way of putting the tomatoes in boiling water until the skin splits, then putting it in ice water to stop cooking, then peel off the skin and squeeze the tomatoes and juice in bowls to freeze. Tiring—very tiring and it takes lots of time.

Now I make tomato sauce the easy way. I finally got a food strainer (sometimes called a food mill) that separates the skins and stems from the pulp, juice and seeds making an uncooked tomato sauce in record time.  My food strainer is from Victorio. It comes with one screen that is fine mesh. I also got the salsa screen because I want my sauce thicker. I can process about 20 lbs of tomatoes in 10-15 minutes. But let’s start from the beginning.

1tomato sauce-tomatoes ready

First you’ll need some tomatoes. Good and imperfect blemished tomatoes are perfect for making sauce. These had hail damage but tasted good.

4tomato sauce-tools

Here are the tools-a plunger to push to tomatoes through (comes with the food strainer), a ladle, and a serrated knife to cut the tomatoes in chunks to fit in funnel. This process is messy so cover your table!

3tomato sauce-putting tom in mill

Cut up and put the tomatoes in the food strainer funnel. No need to take off skins, the strainer will do it for you.

5tomato sauce-partially done

Here is some sauce partially done. The food strainer has separated the sauce out into this green bowl. You crank the handle and push the tomatoes into the funnel using the red plunger. The strainer reminds me of a meat grinder except it grinds up tomatoes instead. It also can be used to make grape juice from grapes and applesauce or apricot sauce.

6tomato sauce-skins out

The other side of the food mill spits out the skins. I also cut off the stems shown in bowl. The chickens will love getting this bowl!

7tomato sauce-finished in bowl

Here is the bowl full of rich raw tomato sauce ready to bag with more tomatoes in the background ready to make sauce.

8tomato sauce-in bag

I put about 12 cups of raw tomato sauce in a gallon size freezer bag. I don’t like to overfill them. I also squeeze out the air while I ‘zipper’ them up. Be sure you zipper it well or it could leak out when you lay it flat.

9tomato sauce-finished in bags

Here is the raw tomato sauce—bagged and ready to freeze. Notice I have different colors of sauce coming from different colors of tomatoes. Later I either cook the bags of raw sauce up for a recipe or I end up canning them when my freezer is too full and I’ve recovered from harvest season!

Pickle class a success!

pickle class

Duskin with picklesPickle making class went well today. We processed 15 lbs of cucumbers into about 15 pint jars. Pictured above are some of the finished pickles. Duskin, who co-taught the class with me brought his giant pressure cooker. We didn’t use it as a pressure cooker this time but instead filled the big pot with water to sterilize the jars and to use for processing the pickles using the water bath method. I brought my camp stove to make the brine and syrup. It was a beautiful day for making pickles outside instead of over a hot stove. After a short talk on the how to process food safely, everybody got involved—Duskin sterilized the jars, while the students cut up the cucumbers and garlic, mixed up the brine and syrup, added all the ingredients and cucumbers into the hot sterilized jars as they came out of the pot, poured the brine and syrup, wiped the lips of the jars and put the lids/caps on them. Then we put them back into the hot water and brought the water back to boiling and adjusted the processing time for our high altitude. While we were waiting for them to finish processing, Duskin showed them around Milagro Community Garden. When the pickles were done, we pulled them out of the hot water and let them cool enough and then the students took home a jar of each type of pickle. Good job folks!

Here is the one handout that wasn’t available today that I told the students would be available tonight:

Preparing and Canning Fermented and Pickled Foods

Here are the handouts that were given out in class:

General Canning Information

Duskin’s Favorite Pickle Recipes

Lastly, here is the Lemon Dill Refrigerator Pickle recipe that Randy asked for:

Fresh-Packed Refrigerator Lemon Dill Pickles

Food Preservation Class TODAY-canning pickles

799px-Pickle

Do you have too many cucumbers? Do you want to learn how to make pickles? It is much easier than you think! Today from 12 noon – 3 pm I will be teaching a preservation class on pickling for Home Grown New Mexico.

pickle_cornichonThose who show up will learn how to make two types of pickles-bread and butter pickles and dill pickles. We will review canning safety at high altitudes and then make the pickles using the water bath method. This is a hands-on class.

Pickle Making Class- 12 noon-3pm

Milagro Community Garden – located in parking lot behind:

2481 Legacy Ct, Santa Fe, NM