This year was a lousy year for tomatoes for me. Other gardeners have said as much too. Except for one raised bed with 8 tomato plants that are my salvation, the other 17 tomato plants in a different section have not produced well.
Why I asked? A couple of things come to mind for me.
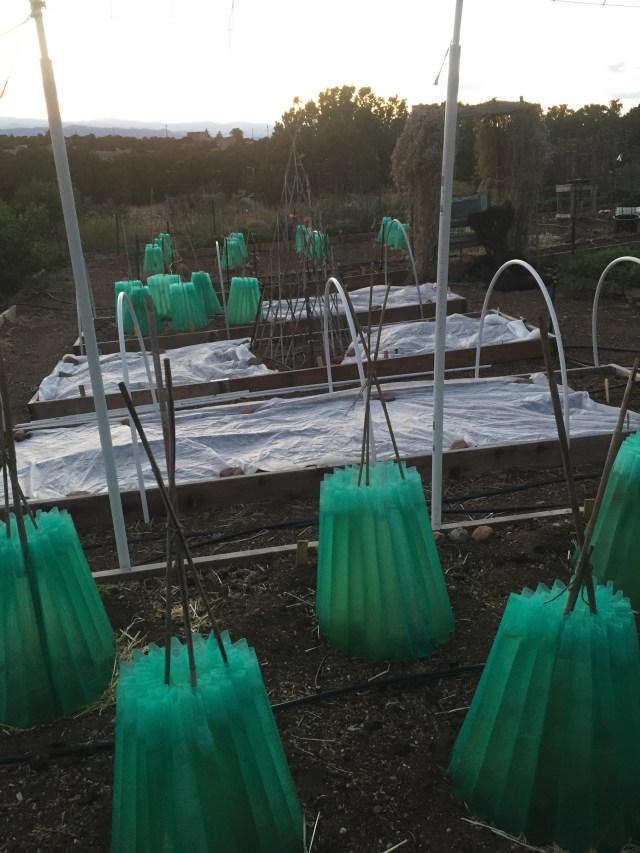
First, we got a late snow on May 20th. The first frost free date is suppose to be May 15th here, but not this year. Plus our spring was cold. That caused me to to put the transplant in the ground on May 25th in wall of waters. I could have transplanted them earlier in the wall of waters but I didn’t have the heart to put them out earlier. It’s hard to do when you’ve started them from seeds 6 weeks earlier and it’s cold or freezing outside. I didn’t want them to stress or even die in the cold nights.
The previous year was we had a very warm spring and I was able to get out the tomato transplants in the ground on May 6th-quite a difference 3 weeks can make in a short growing season.
The second thing that comes to mind was we had a hot June where the temperatures were above 92°F for much of the month. Any temperatures over 92°F will cause tomato blossom drop during the pollination process. The plants did flower and then dropped their blossoms. Pollination temperatures are critical for setting tomato fruit-we want the temps to be below 92°F. After they set their fruit, temperature is not a big factor and the fruit will grow.
The third thing is the monsoons were late. They normally come at the end of the first week in July but didn’t materialize until the end of July and then only for a short period of time. The monsoons stopped and it got too hot again for tomato pollination-hence more blossom drop in July.
Lastly, the soil in the beds were not as good where the 17 tomato plants are in. They are in a newer section where the soil is not as rich. This pointed out to me (again) the need to improve the soil with more compost.
Now the temps are beautiful but basically our season has slowed down and will end for tomatoes whenever we get that first freeze which is between now and October 15th. So before that night comes, when I hear a freeze is eminent, I will pick those few green tomatoes and bring them inside to ripen. For tips on ripening tomatoes inside, go to my post here.
It was a disappointing season for tomatoes here in my garden. How about the rest of you? How did your tomato plants do this year?
Mother nature is sometimes not so generous to gardeners!