Costuluto Genevese tomato

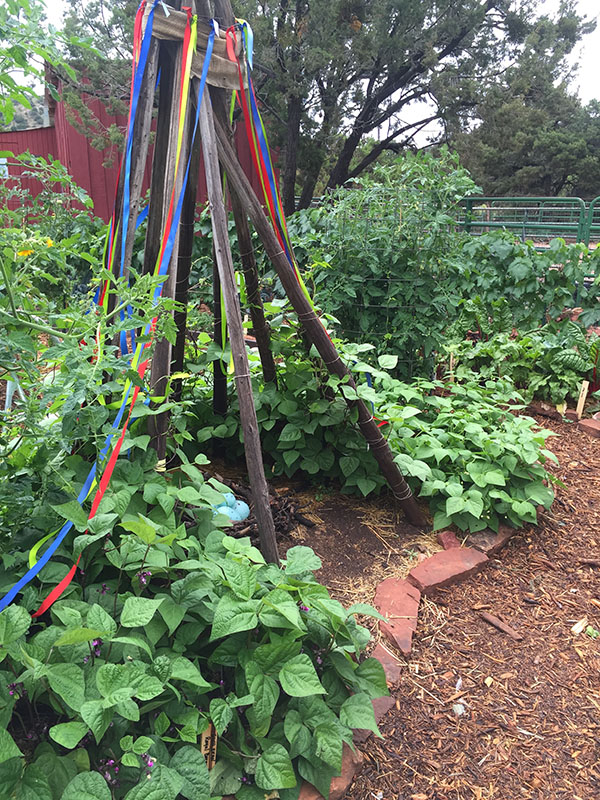
Tomato Lady’s mini-farm
Ok folks, the Tomato Lady (that’s me) has decided to teach a comprehensive course for all the tomato lovers who want to be successful at growing their own tomatoes here in the greater Santa Fe area. Interested? Read on.
TOMATO GROWING 101-Season Long Course
Do you want to learn how to grow great heirloom tomatoes organically from start to finish? Think of the money you can save by learning to grow your own heirloom tomatoes from seed. Plus you can try new varieties that are not sold in the nurseries.
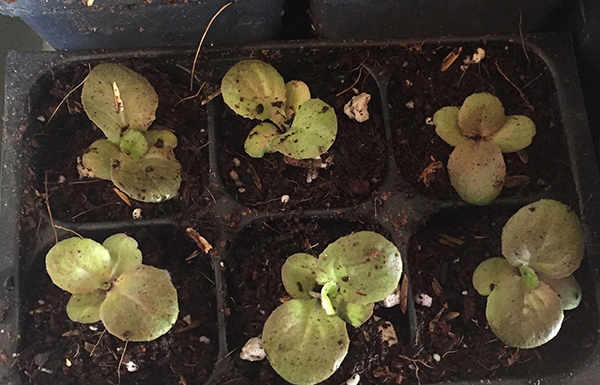
These hands-on classes will emphasis learning how to grow tomatoes successfully throughout the whole season. Participants will learn how to grow tomatoes from their seeds, what starting mix to use, what soil to transplant in, how to handle the delicate seedlings when transplanting up, how to produce sturdy plants. Lighting systems will be discussed and your seedlings will stay under lights at my farm under my care until time to plant outside when you will take your plants home to plant outside in your garden.
All planting materials, seeds, soil, amendments and pots supplied while growing them at the farm. Class participants will get a workbook with printed material added at each class to help them be successful throughout the growing season. Students will get experience with actual planting to gain confidence and will come back to learn how to prune them, how to identify diseases and pests and how to control them.
Participants must sign up for all classes at once. Course payable at signup for a total of $150. Class size is limited-10 students max. This takes a commitment. No partial classes.
____________________________________________
To register for the class is an easy two-step process:
1. Fill out the CONTACT FORM below and hit the submit button. Then to pay:
2. TO PAY: click the PAY PAL button (below the contact form). You don’t need to have a paypal account. They will process credit cards too.
Step 1: Fill out this CONTACT FORM:
Step 2: TO PAY: Purchase all 7 classes for $150 here

____________________________________________
HERE IS A PDF OF THE SCHEDULE BELOW. PUT THIS SCHEDULE IN YOUR CALENDAR AND PRINT IT SO YOUR DON’T FORGET!
tomato-growing-101-class-schedule
____________________________________________
REVIEW CLASS SCHEDULE
Section 1
HANDS-ON LEARNING OF HOW TO START TOMATO SEEDS/CARING OF THE YOUNG SEEDLINGS AND TRANSPLANTING UP/PREPARING SOIL IN GARDEN
Class 1
Wednesday, March 22nd—10am to 12 noon
Learn how and why to plant tomato seeds/how to pick your varieties, what soil medium to use, learn about germination troubles and how to avoid them/plant your seeds
Class 2
Wednesday, April 5th—10 am to 12 noon
Transplanting up to 2” pots/changing the type of soil, adding amendments for great growth and how to deal with transplant shock and learning how to maintain your plants.
Class 3
Wednesday, April 19th—10 am to 12 noon
Learn about transplanting up to the next stage of growth-up to 4” pots, how to transplant to get the best sturdiest stems, additional amendments you can use and how to maintain your plants.
Section 2
LEARN HOW TO TRANSPLANT THE TOMATO PLANTS OUTSIDE IN THE GARDEN /LEARNING ABOUT SOIL AMENDMENTS/TAKING YOUR PLANTS HOME
Class 4
Wednesday, May 10th—10 am to 12 noon
Participants will learn how to transplant their tomato plants out in the garden, how to prepare planting hole and what amendments to add when planting for better growth of tomatoes. Discussion and demo of how to use wall-of-waters and how to set them up properly. After learning how to do all this, students will take home their plants to be planted in their own gardens.
Section 3
THEY’RE IN THE GROUND, NOW WHAT?
THE NEXT STEPS FOR TOMATO GROWING SUCCESS
Class 5
Wednesday, June 7th—10 am to 12 noon
Participants will learn how and when to remove wall of waters, how to control leafhoppers, learn about tomato cages-what works and doesn’t work, saving water by mulching, using organic fertilizers, using row cover as protection.
Class 6
Wednesday, July 12— 10 am to 12 noon
Trimming and pruning your tomato plants, the pros and cons of sucker control and how to remove them. Learn to make compost tea. Identifying beginning problems, which organic fungicides and insecticides to use as the season goes on if needed.
Section 4
MAINTAINING YOUR PLANTS-PRUNING TECHNIQUES, IDENTIFYING AND CONTROLLING DISEASES AND PESTS AND HARVESTING
Class 7
Wednesday, August 9th—10 am to 12 noon
Participants will learn how to maintain their plants, pruning techniques, harvest techniques, identify tomato diseases and pests and how to control them organically.
 Failed: Sweet potatoes/Success: watermelon– I planted sweet potato starts just before I left for a fly fishing trip. I got the new drip system in place and planted them and forgot to turn on the drips to that section in my haste. When I came home, all were dead. So I planted a Moon and Star watermelon plant in their place. Didn’t think there would be enough time to get any to ripen but got 4 nice size ones ranging 10-15 lbs. Sweet!
 Failed: Giant pumpkins/Success: Charentais melons-I didn’t start my giant pumpkins this year but instead just planted seeds directly in the ground. Wrong! Nothing came up. Learned a lesson there. So I planted Charentais melon plants as I always wanted to grow them. They produced about 10 wonderful melons. Supersweet!