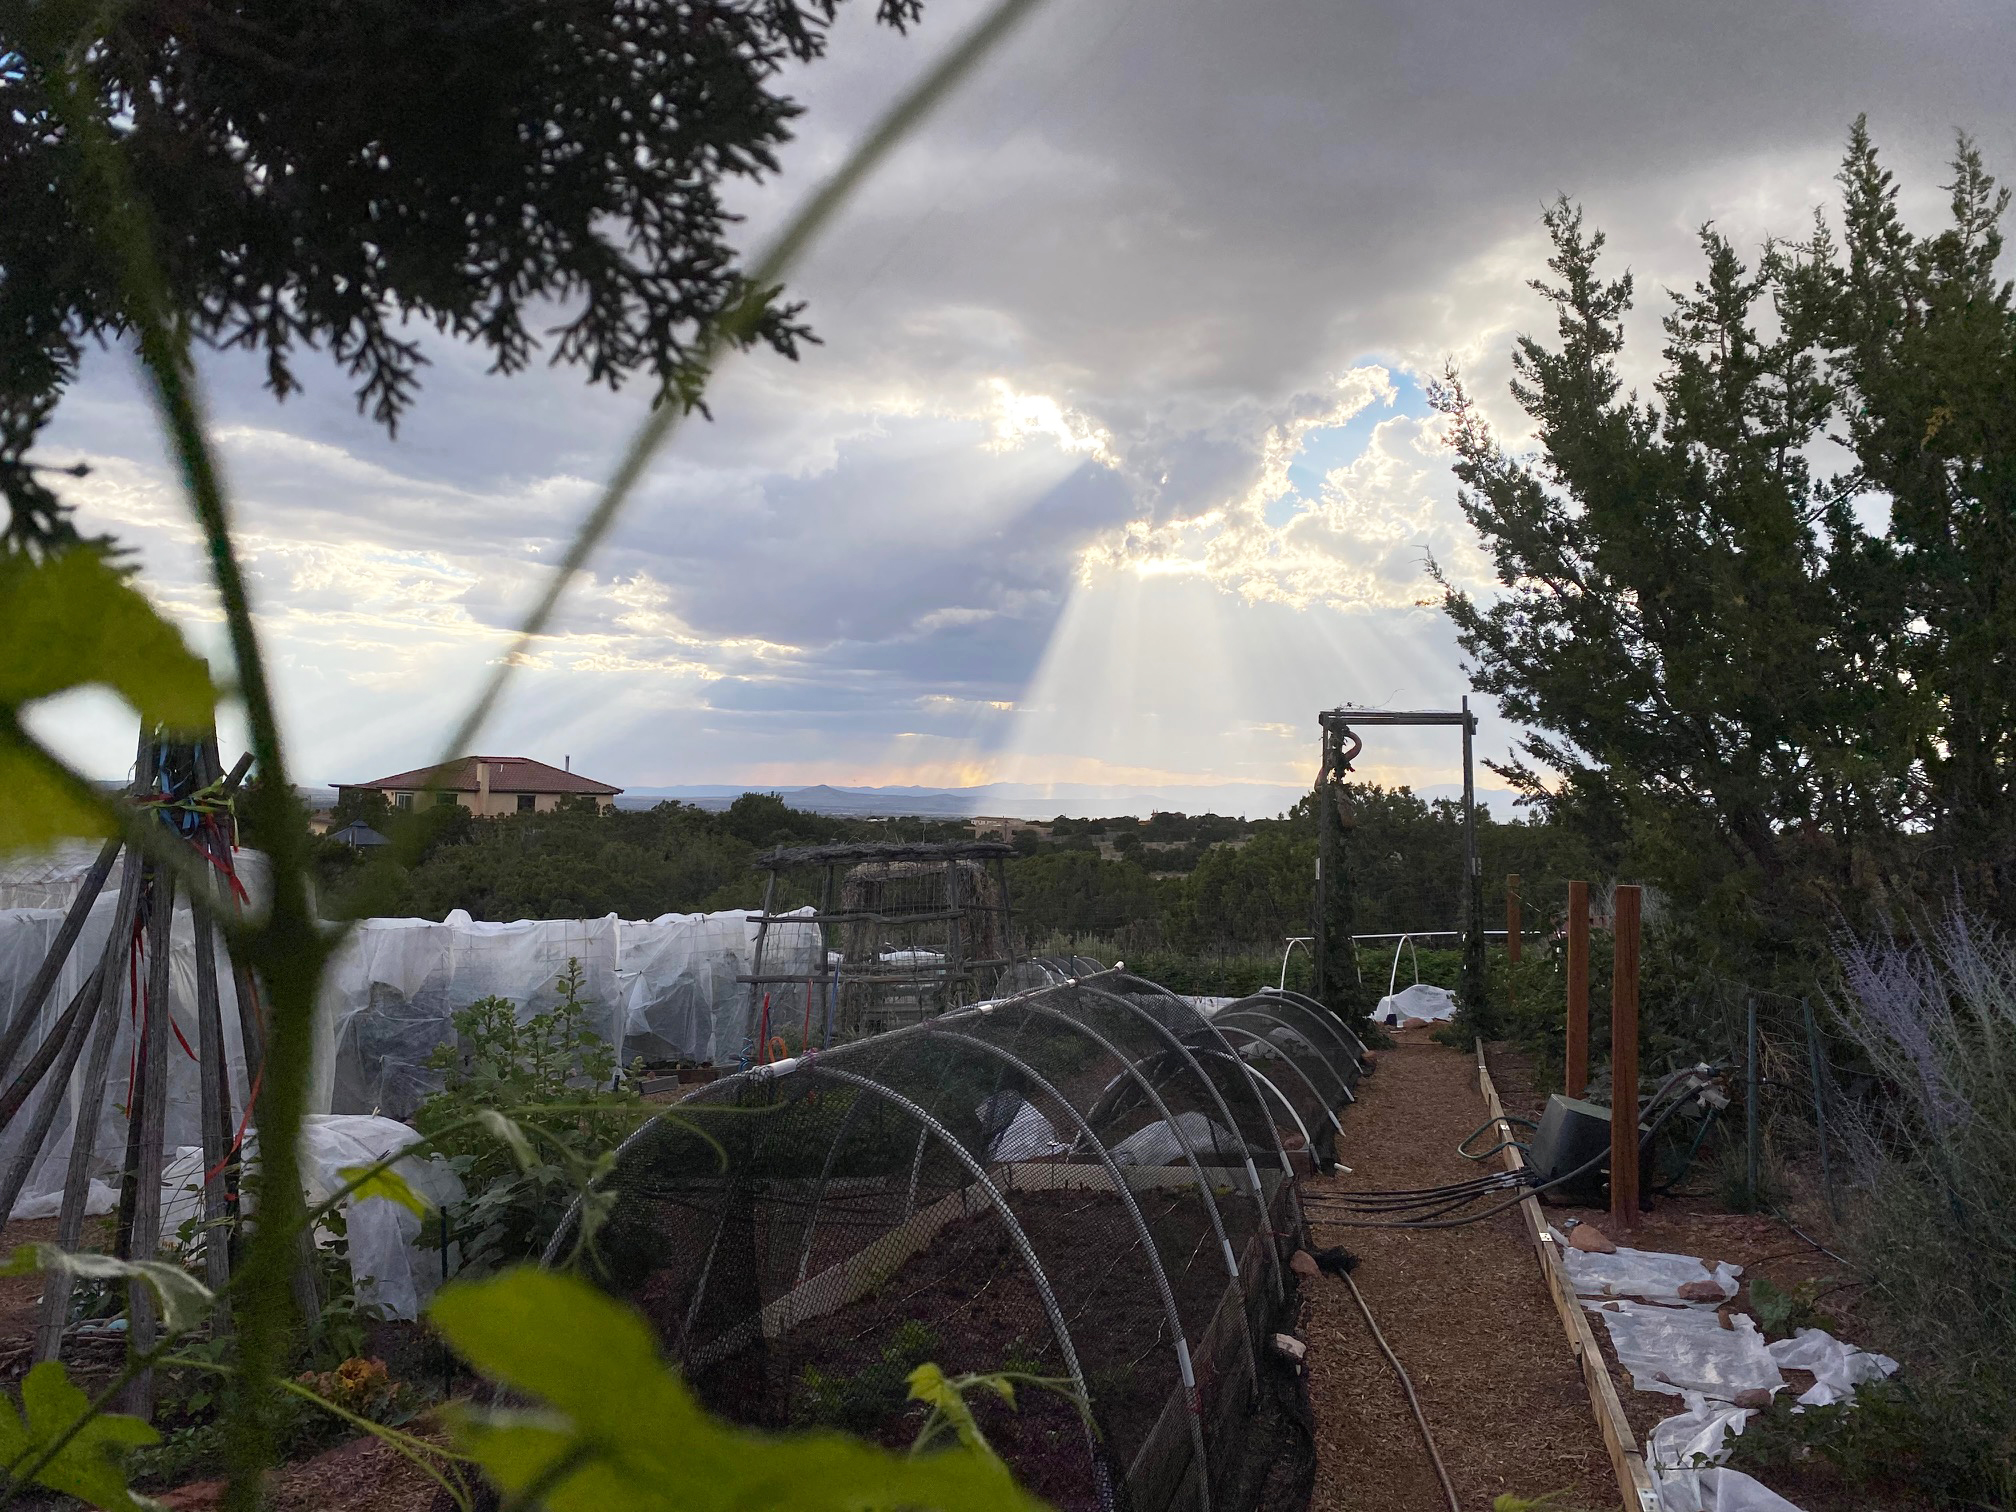
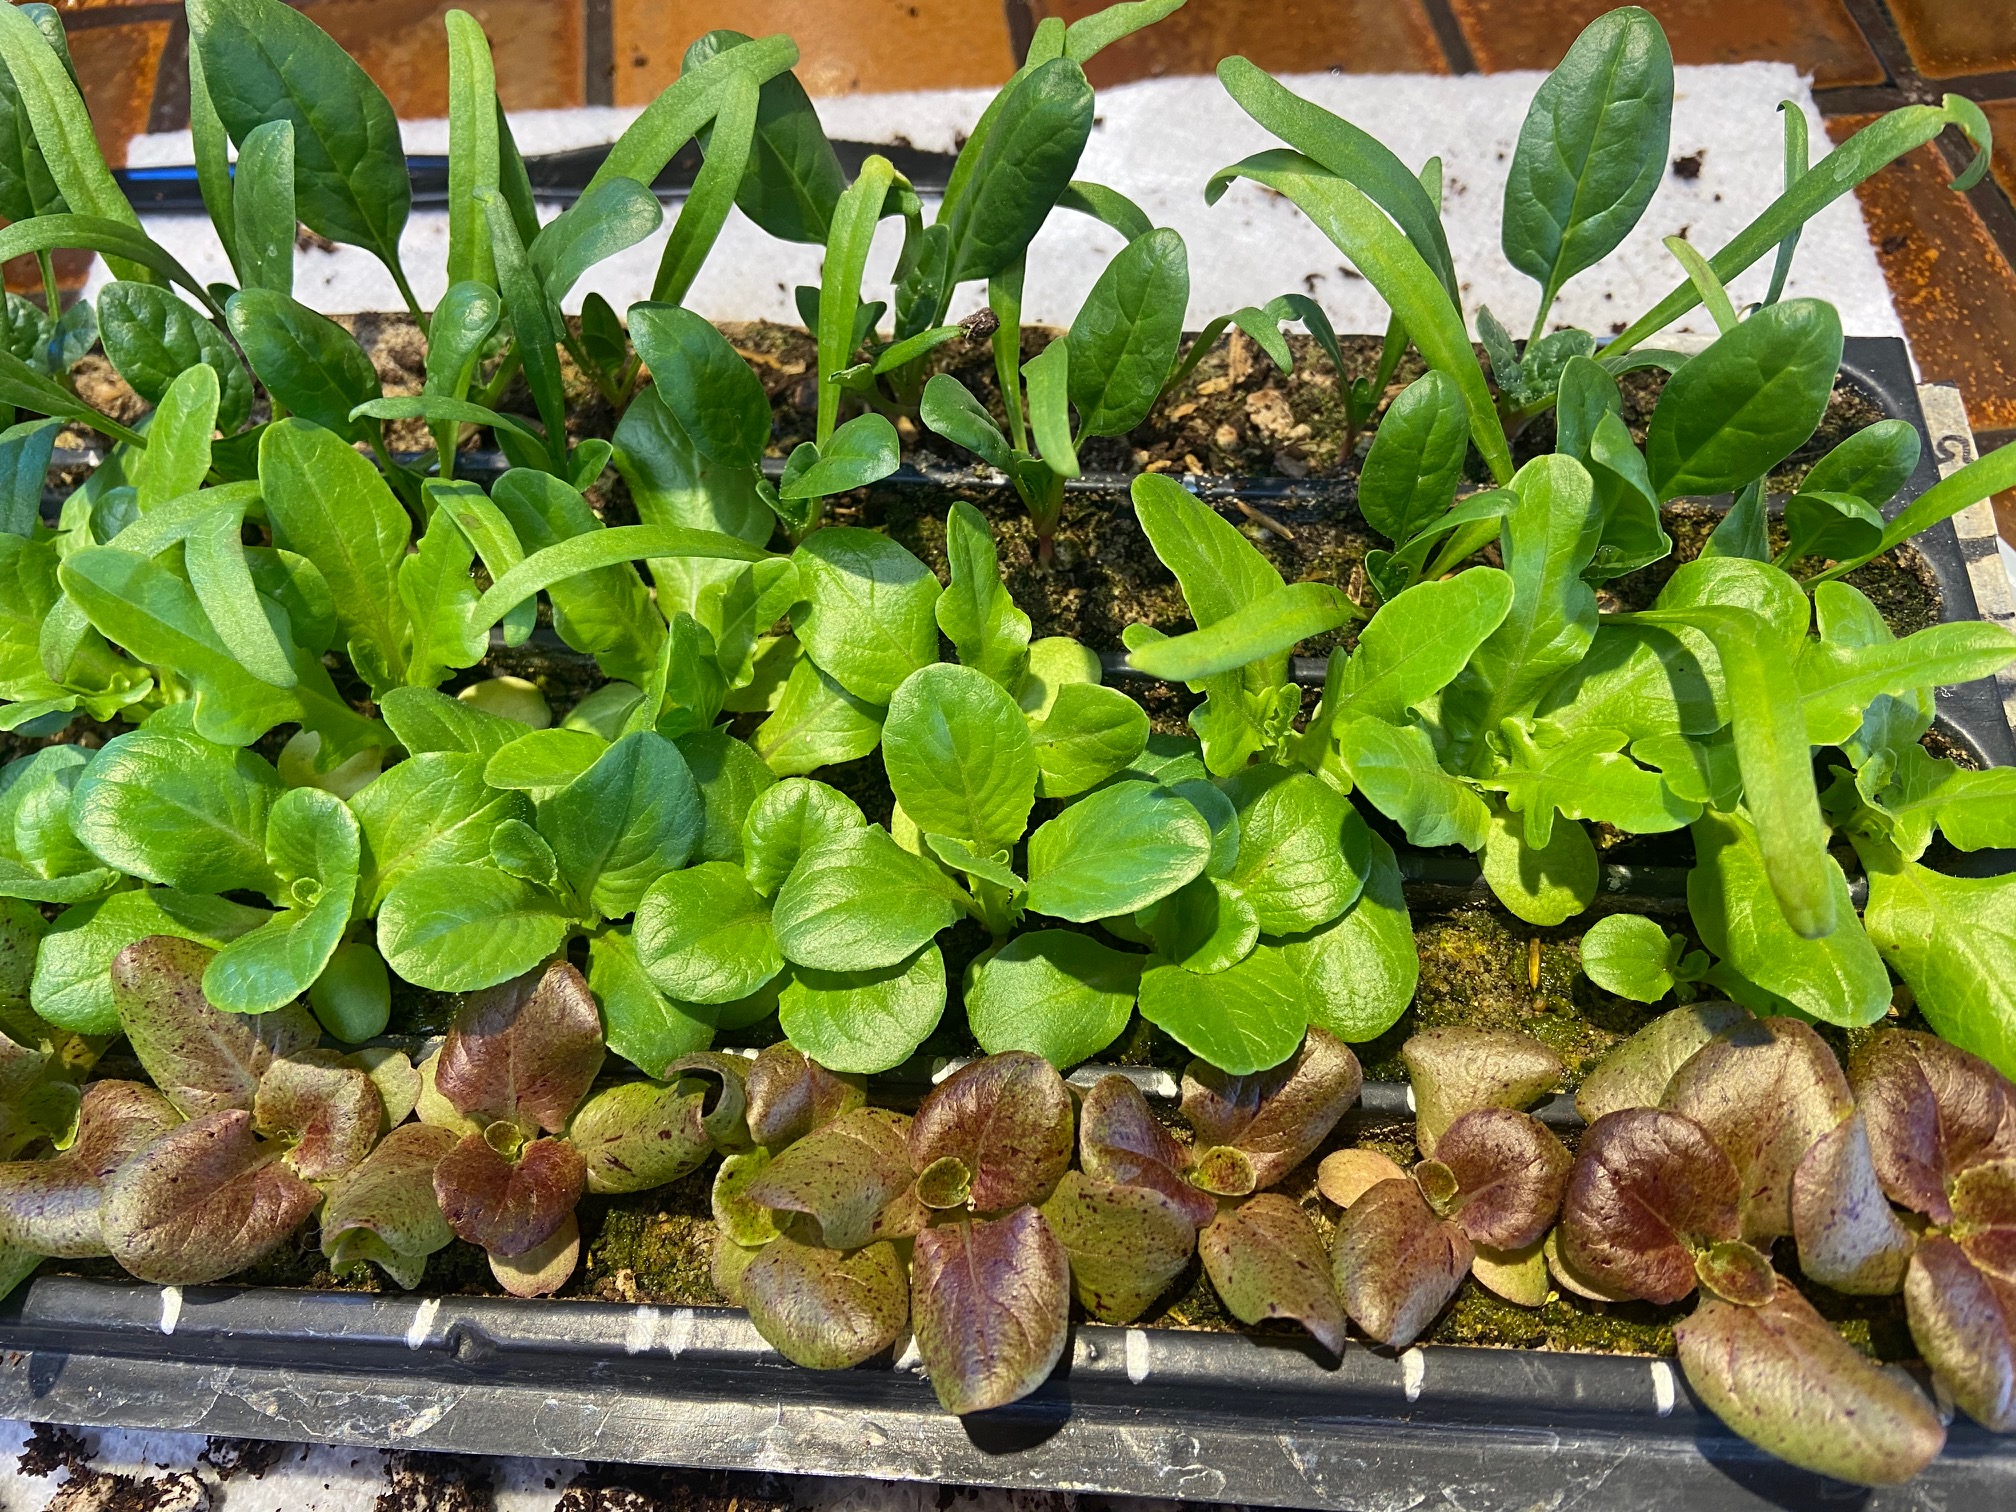
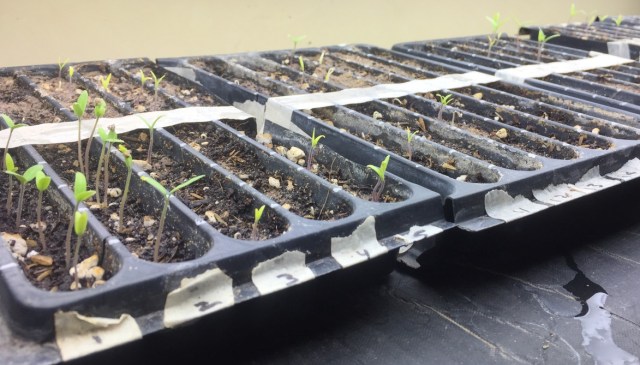
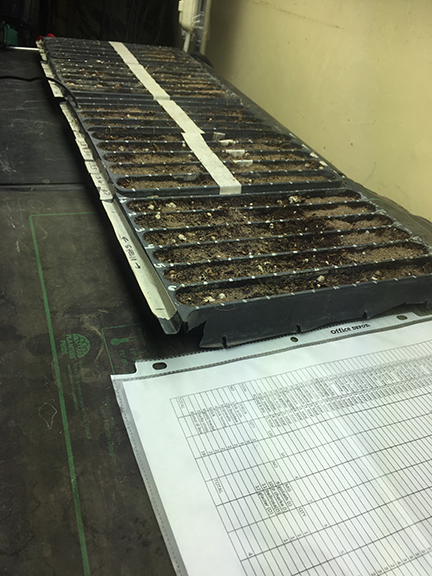
I like salads, especially in the summer but most lettuces bolted here in my garden in the summer. Last year I grew some lettuces that grew well in the summer. Most lettuces are cool season crops that bolt with the heat but Batavian (also known as Summercrisp) lettuces did surprisingly well here. I grew them in partial shade and not in the direct sun. Not only was I happy they did not bolt and nor get bitter, but they have a crisp sweet taste to them and lasted all summer. There are many more Batavian lettuces online but these are what I tried. Many of these warm season lettuces are on multiple seed company sites but below is where I got the seeds.I just started these lettuce seeds on July 1 in pony packs to transplant later.
Here are some varieties I grew:
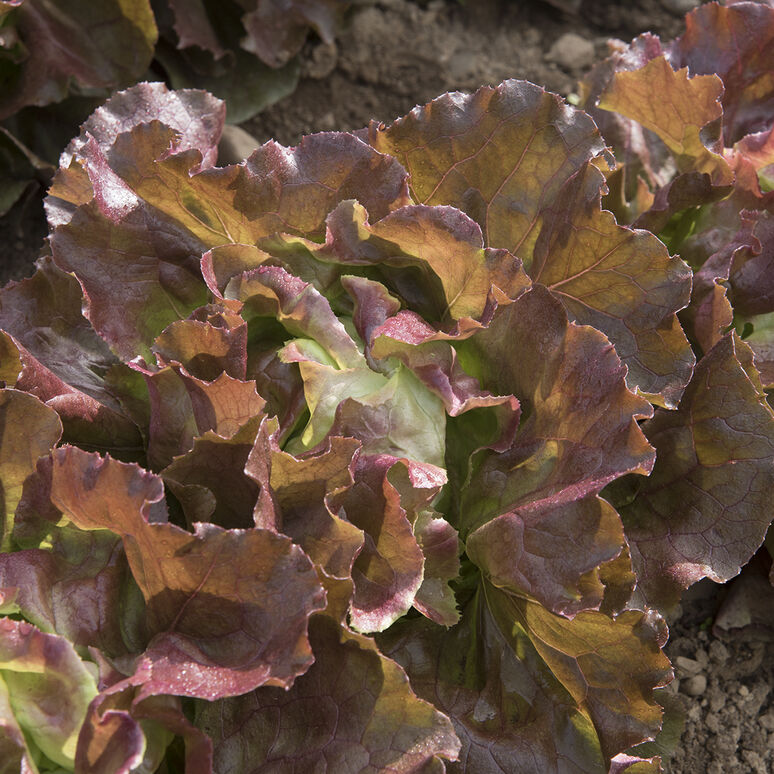
 Cardinale-recently saved from extinction. A wine red Batavian crisp-leaf, especially suited to cutting for salad mix because of its juicy crunch, heft, shelf life and well-proportioned leaves. Forms open rosettes for easy picking until full maturity, then folds itself into a beautiful red crisphead. seeds: wildgardenseed
 Manoa-A special mini head from University of Hawaii, grown widely in the Islands for its resistance to heat and tip-burn. ‘Manoa’ is actually a tropical-stress selected version of the century-old ‘Green Mignonette,’ itself recognized as a standout heat resistant lettuce. Medium deep green, semi-savoyed leaves form small, compact plants that may be baby cut with an open head, or allowed to mature into a blanched round heart. seeds: wildgardenseed
 Anuenue-Another A sweet green header from Hawaii. ‘Anuenue’ (rainbow) works as a thick green cut-leaf for salad, or as an easy, heat tolerant, non-bitter, full-heading lettuce. Undemanding, mellow heads, bred for sun, heat, and humidity. seeds: wildgardenseeds
 Jester-Crisp as ice, glossy, juicy as an apple, perfectly proportioned for a plate or a sandwich, flashy red speckles on semi-savoyed leaves with crazy-crisped margins like a Jester’s attire. Slow bolting in any season, this crispleaf type can be harvested at the open head stage, or later as a semi-tight pink-hearted blanched head. seeds: wildgardenseeds
 Merlot Batavian-It is an open-headed, Batavian-type with upright, waxy, savoyed leaves. Merlot is perfect for baby leaf cut and come again harvesting or for growth to crisp, full-sized, burgundy heads. Its juicy flavor and crisp texture will light up the most discriminating of palettes. seeds: John Scheepers
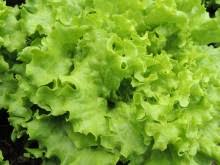
 Nevada-Excellent summer variety forms large, open heads of thick, vibrant green leaves. Glossy and beautifully ruffled leaves with a satisfying combination of crunchy texture and buttery smoothness. Summer crisp characteristics. seeds: highmowingseeds
 Skyphos-Most adaptable butterhead. Beautiful, large, dark red heads with nicely contrasting green centers. Excellent flavor and texture. seeds: johnnyseeds
 Muir-Muir is an extremely heat tolerant variety and was the slowest to bolt in our summer trials. Technically a Batavian type, the light green, extra-wavy leaves form dense heads at a small size and can be harvested as a mini or left to bulk up into large, heavy, full-size heads. The leaves are crisp and have excellent flavor. seeds: johnnyseeds
 Magenta-A red Summer Crisp with good flavor. Shiny, slightly puckered, red-tinged leaves form a whorled, conical head with a crispy green heart. Ideal for spring and summer plantings. Tolerant to bolting, tipburn, and bottom rot. seeds: johnnyseeds