 2020 Tomato Review
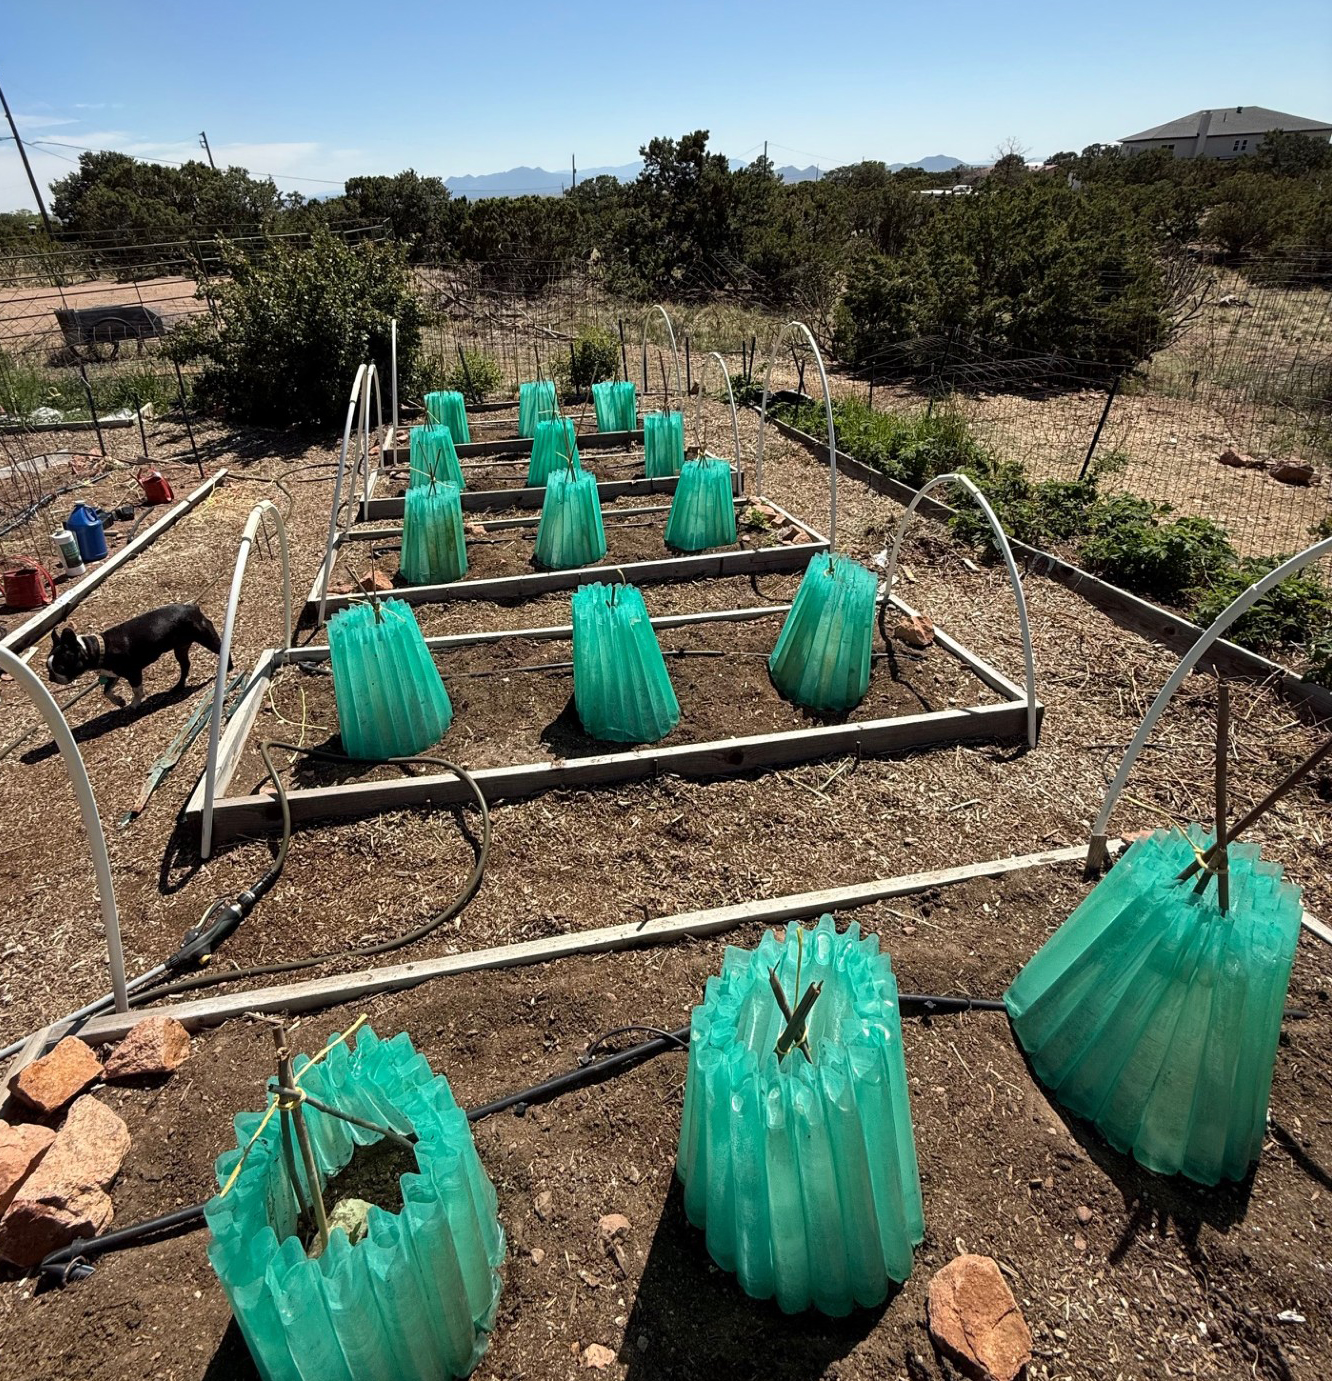
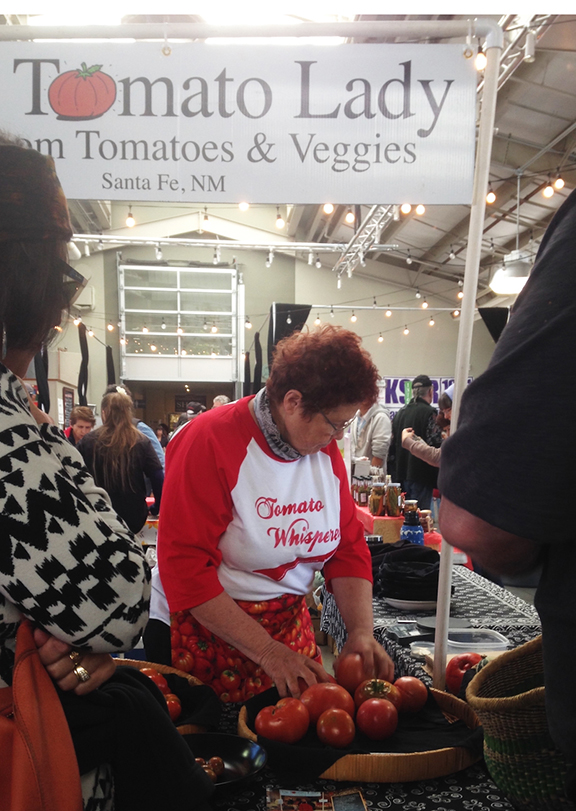
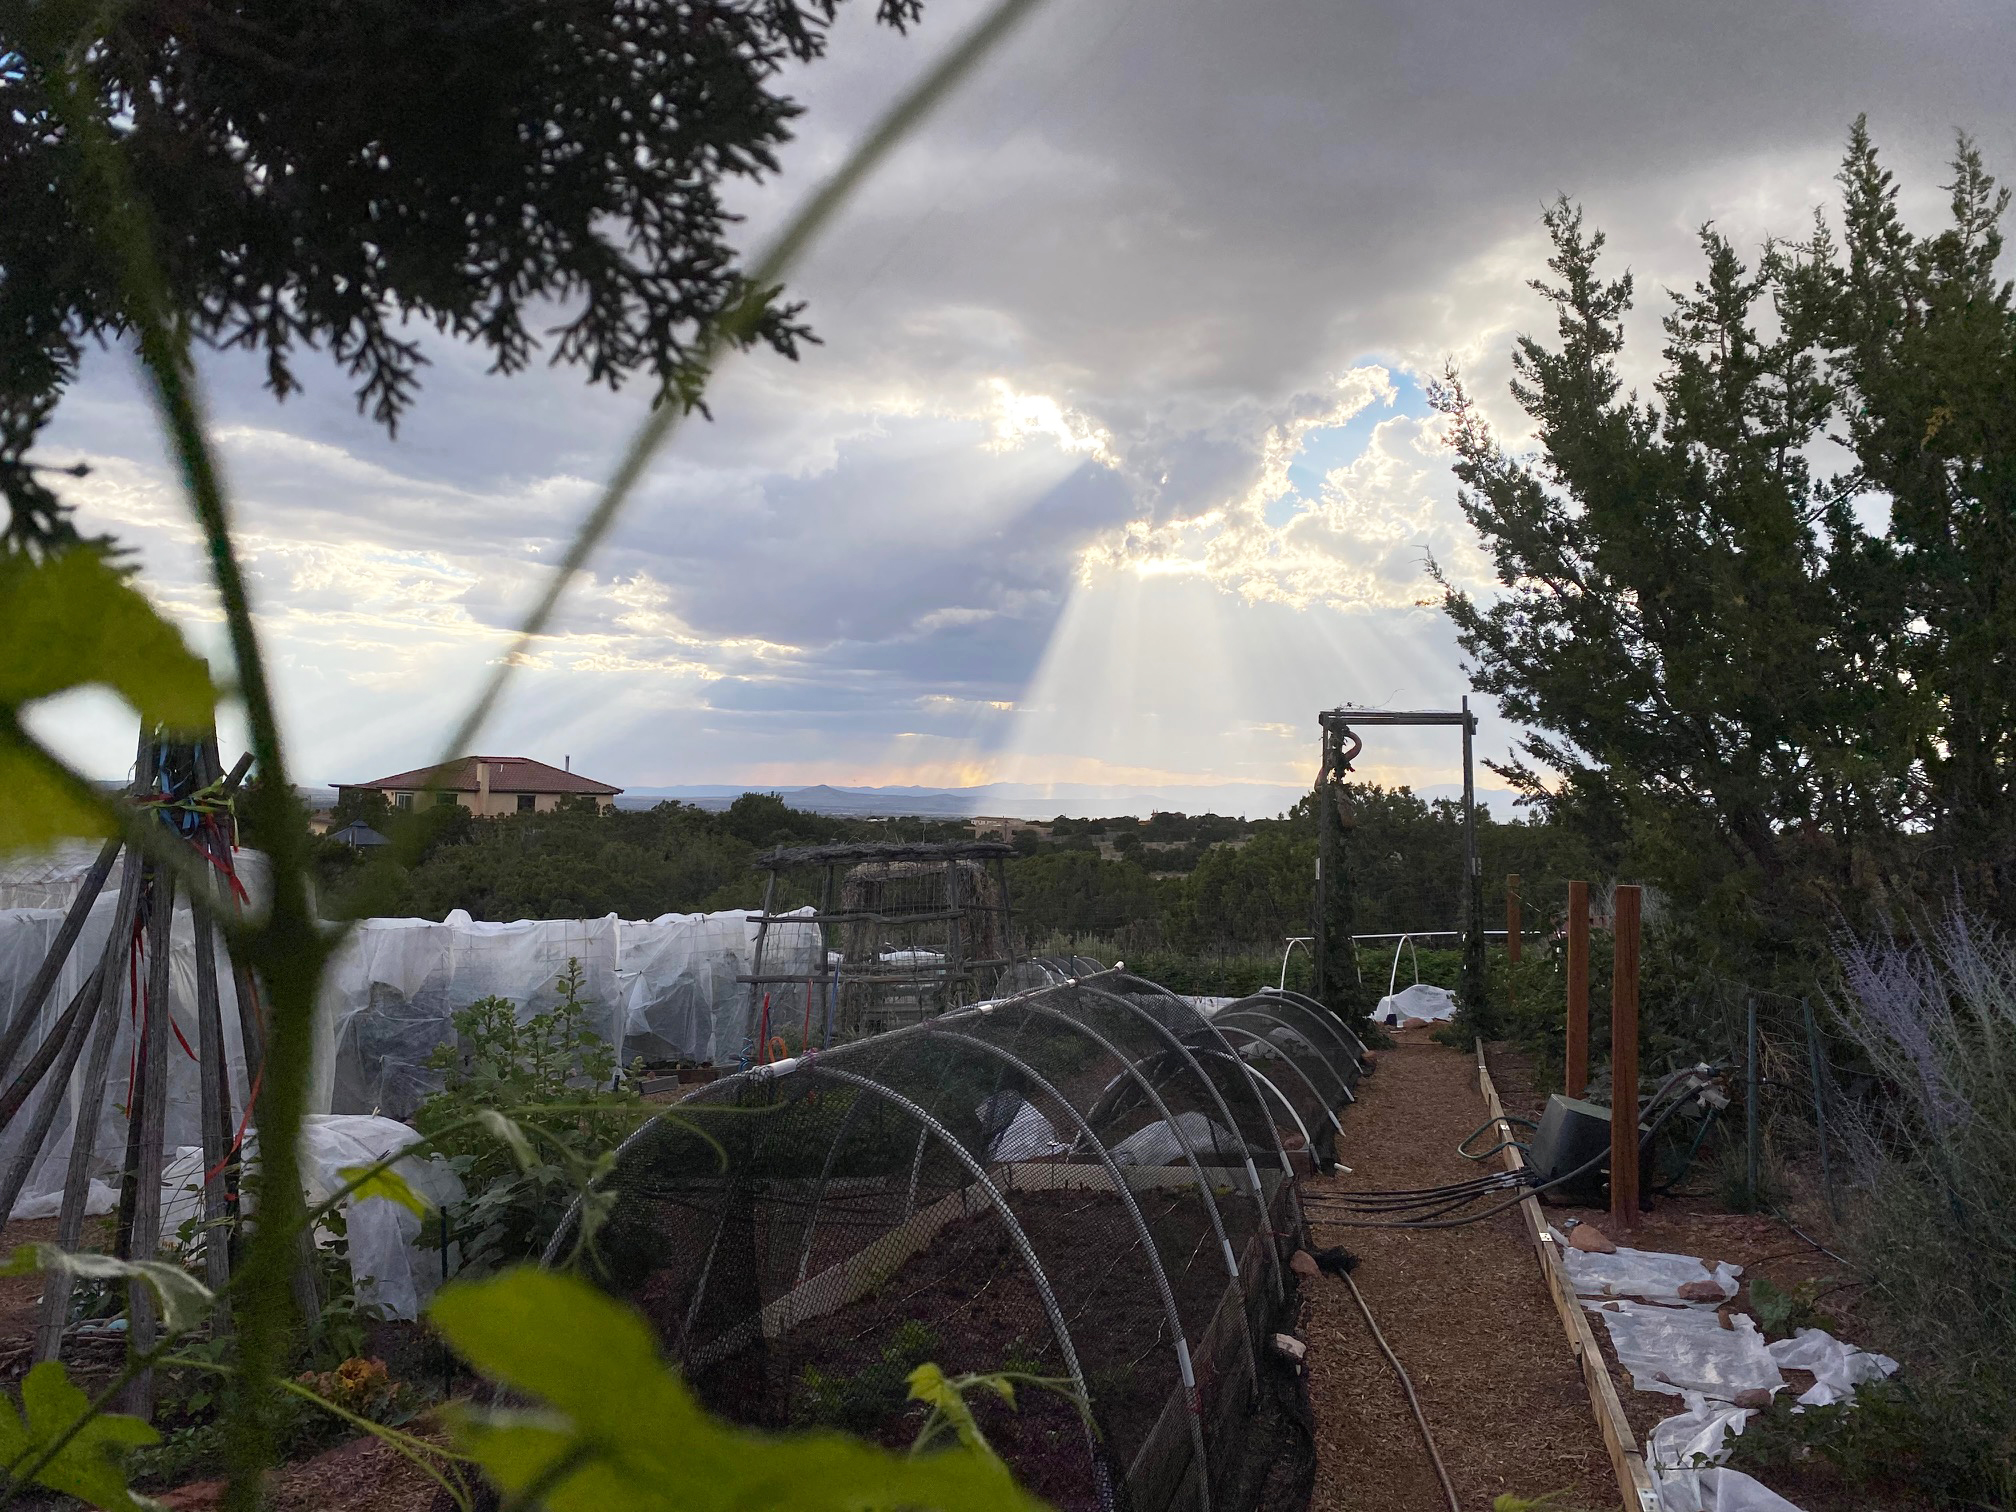
As the Tomato Lady of Santa Fe, this year was a great tomato year in the garden especially compared to last year’s tomatoes which were dismal. This year I started with 38 plants, lost 2 right away to curly top virus and lost several more to a soil fungal disease but overall the disease level was very low due to it being such a dry year. I think I had good production because I started them super early this year-May 6, which is the earliest I’ve ever put them in the ground and I gave them the water they needed.
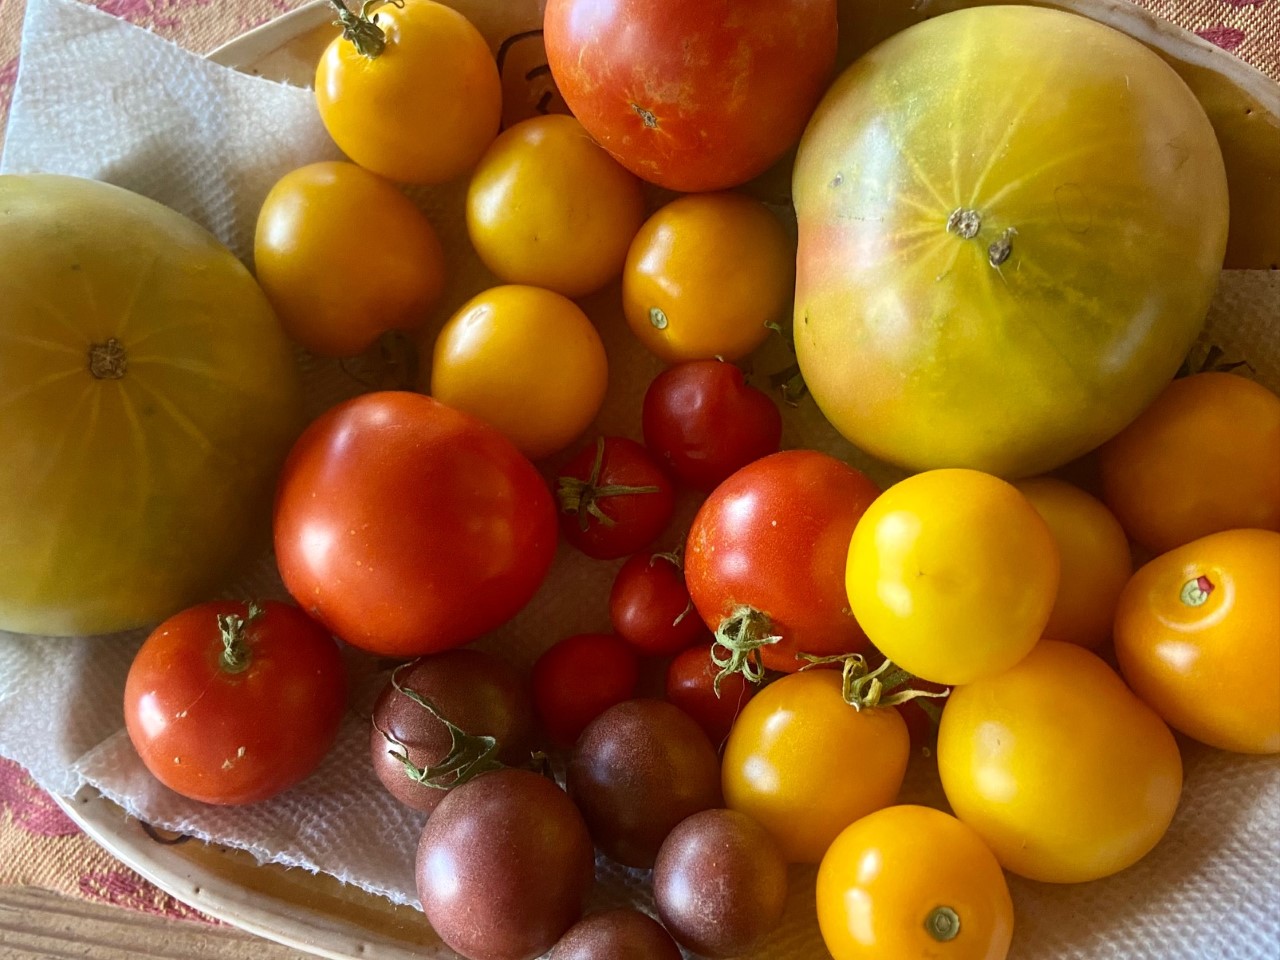
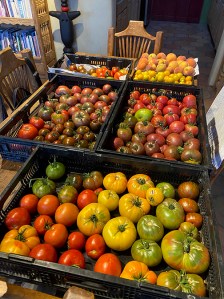
Here are the tomato varieties I grew this year. If you haven’t even heard of some of these, I encourage you to try some new varieties for yourself-keeps it interesting! Some of you may have had a great year with some of these varieties, so use your own experience when selecting which varieties to grow. All varieties are heirlooms or open pollinated unless otherwise noted.
Moby Dwarf cherry tomato trial project-This is a wonderful larger yellow cherry tomato. Wonderfully intense flavor. I was involved 2 years ago growing this out for Craig Lehouiller, author of Epic Tomatoes. I found some of the plants I grew had a anthocyanin blush (purple blush) on its shoulders so I’m continuing to see if we can get this trait to stabilize for future generations. The plant is only 4 feet tall, very prolific and would be great in large pots as well in the ground as I do. You can get the original seeds now online at Victory Seeds. A must try. 63 days to harvest. YES will grow this next year.
Black Cherry-I only grew one plant but boy was it prolific! This is one of my favorites that I grow every year. No disease. Very dependable. Purplish color. Great intense full bodied flavor like a good wine. 64 days to harvest. YES will grow this next year.
Virginia Sweets-A yellow tomato with red blush inside that is sweet, sweet, sweet. This year they did well although in some years not as good. But I always come back to them because when they do well, they are great! 80 days to harvest. YES will grow this next year.
Lucky Cross-One of my all-time favorites. This year the mice seem to really like them so I didn’t get as many as I would have liked. Great sweet flavor. Yellowish peachy color with marbled red interior. Wish I had more plants since I was sharing with the mice! 74 days to harvest. YES will grow this next year.
Ananas Noire-One of my favorites. Don’t be put off by the colors-green with a red blush but the flavor is sweet like nectar. Takes all season to get them but worth the wait. 85 days to harvest. YES will grow this next year.
Large Barred Boar-NEW THIS YEAR! A wonderful tomato from Wild Boar Farms that is slighter larger than Black and Brown Boar which it came from and is a mid-season ripener. It is a med-large mahogany color with green stripes tomato. Great flavor and only 65 days to harvest. YES will grow this next year.
Black and Brown Boar-I’ve always loved this oval shaped tomato from Wild Boar Farms because it has super flavor and is a good producer. Mahogany with green stripes. 68 days to harvest. YES will grow this next year.
Cherokee Lemon-NEW THIS YEAR! This is a new Cherokee variety for me. Its color is a pure yellow with yellow flesh inside and has good sweetness. It was not very prolific though, so I will see if it makes it into next year’s roster but I usually give a new tomato two years to try. 75 days to harvest. MAYBE will grow this next year.
Cherokee Purple-I come back to this tomato every year. A great producer with outstanding flavor. Purple with green shoulders. 75 days to harvest. YES will grow this next year.
Cherokee Green-A green tomato that turns a yellowish-green that is green throughout with suburb sweet flavor but was not as prolific as last year. 75 days to harvest. MAYBE will grow this next year.
Cherokee Carbon-I adore this hybrid. A cross between a Cherokee Purple and Carbon. Great flavor like Cherokee Purple but bigger and less cracks. Purple with green shoulders/ Great producer too. 75 days to harvest. YES will grow this next year.
Pink Berkley Tie Dye-Usually this is a good producer with great flavor but this year it was a disappointment for me as it did not produce many tomatoes. 65 days to harvest. NO will NOT grow this next year.
Captain Lucky-NEW THIS YEAR! I liked this mostly green with red blush tomato. All around good flavor. 75 days to harvest. YES will grow this next year.
Goliath-One of a few hybrids that I grow every year. Great old fashioned tomato flavor and it rarely gets cracks or blemishes. A good producer. 65 days to harvest. YES will grow this next year.
Pantano Romanesco-This year I was disappointed in this tomato when normally I like it. Good old fashion flavor but not very prolific. 75 days to harvest. NO will NOT grow this next year.
Mushroom Basket-NEW THIS YEAR! I’m kinda so-so about this one. Great big shape with many flutes but ripened unevenly for many of them. Also not a good producer. 75 days to harvest. NO will NOT grow this next year.
Paul Robeson-Another of my all time favorites-this ‘black tomato’ has a rich flavor that wins many tomato contests every year. 75 days to harvest. YES will grow this next year.
BKX-NEW THIS YEAR! An improved version of the Black Krim tomato that did not produce very well. For me the original Black Krim is never a good producer and this one is about the same. If I’m going to grow a tomato it has to be a good producer. 80 days to harvest. NO will NOT grow this next year.
Purple Calabash-NEW THIS YEAR! This is an heirloom from Thomas Jefferson’s garden so I was excite to try it. Sorry to say, I wasn’t impressed. They were small fluted purplish tomatoes with lots of catfacing flaws on bottom. Nice flavor though. 75 days to harvest. NO will NOT grow this next year.
Big Zac-Another good hybrid that can grow some colossal sized red tomatoes with old fashioned tomato flavor. One slice will fill a BLT sandwich. 80 days to harvest. YES will grow this next year.
Goldman’s Italian American-the only paste tomato I grow. It has the best flavor of any paste tomato I’ve ever tried. Makes wonderful pasta sauces. 85 days to harvest. YES will grow this next year.
 Early Blight is a fungal disease that attacks tomato plants starting on the bottom leaves of the plant and works it’s way upwards. The leaves start turning yellow and get blotchy with brown areas. If left unchecked, it can take over your plant killing it although it won’t die immediately and there are things you can do to reduce it.
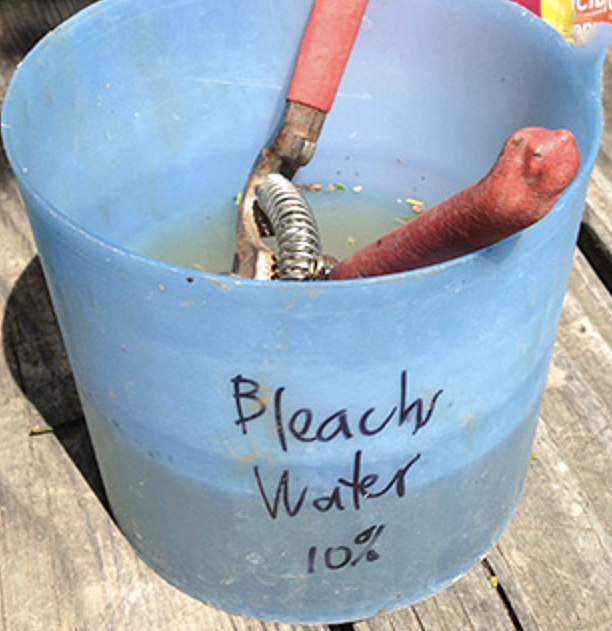 ALWAYS DISINFECT YOUR CLIPPERS IN BLEACH WATER BEFORE GOING ON TO PLANTS THAT DON’T HAVE IT-it is contagious!