Pesto is a such an easy thing to make and is so delicious that I don’t know why more people don’t make it. This summer I made fresh pesto with my mini food processor which I then froze for later use. I put some on pasta the other night and all the flavors of that fresh basil burst in my mouth just like when I first made it.
To make fresh pesto you can either grow your own plants or buy plants to use. I cut off all the leaves except the biggest to use in pesto. I keep the bigger leaves to add when making a pasta sauce to cook down. I do not use the flowers if there are any, as I think they give the pesto a slightly bitter taste.
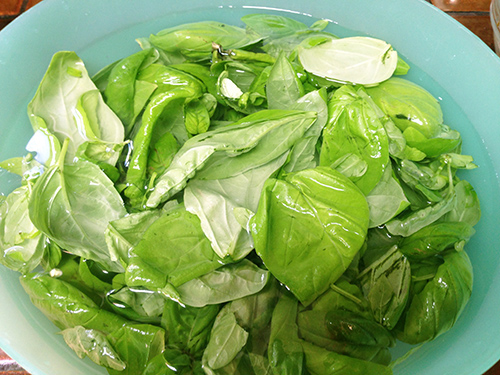
Soak leaves for 15 minutes
I use Italian or Genovese basil to make my pesto and after I cut the leaves off, I soak the basil in bowl of water to freshen it up for about 15 minutes.

Blend salt. pine nuts, and olive oil
Put olive oil, sea salt, pine nuts, and garlic cloves into a blender or food processor and blend well.
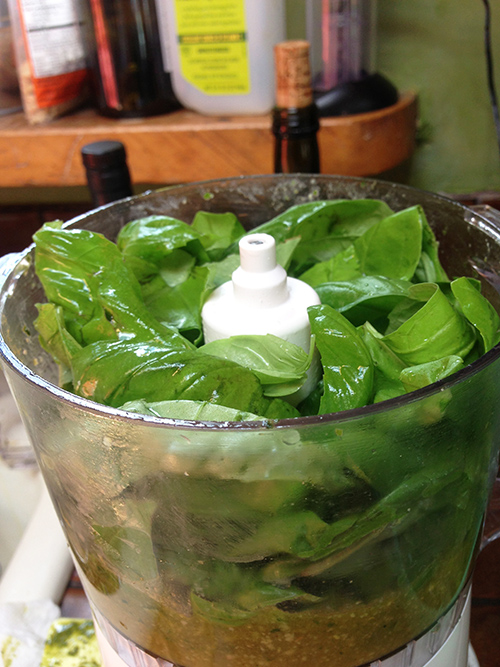
Add drained basil leaves
Drain your basil leaves and add them and blend till smooth and creamy. If the mixture is really thick add more oil a little at a time till smooth. It should not look like thick chopped spinach but be a little thinner and smooth consistency!

Add parmesan cheese
Then add the grated cheese and blend again. Notice how it is finely grated and light and fluffy.

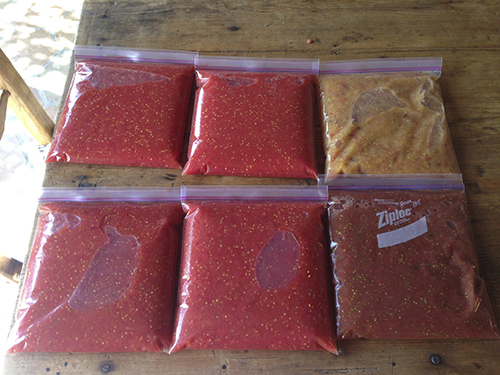
Finished pesto ready to freeze for later use.
I like to put the finished pesto in freezer bags, taking as much of the air out of the bag as possible. Then lay the bags flat in the freezer. Be sure to not add too much to each bag as you want it thin enough to break off chunks of it later to use with your pasta. Above is the finished pesto ready to freeze. Here is the recipe:
FRESH BASIL PESTO
INGREDIENTS
1/2 extra-virgin olive oil (give or take a little) use a good grade
1/4-1/2 tsp coarse sea salt ( I use less as the cheese is salty)
1/4 pine nuts
2 garlic cloves
3-4 cups fresh Italian basil
1/2 cup Parmigiano-Reggiano Parmesan cheese, finely grated