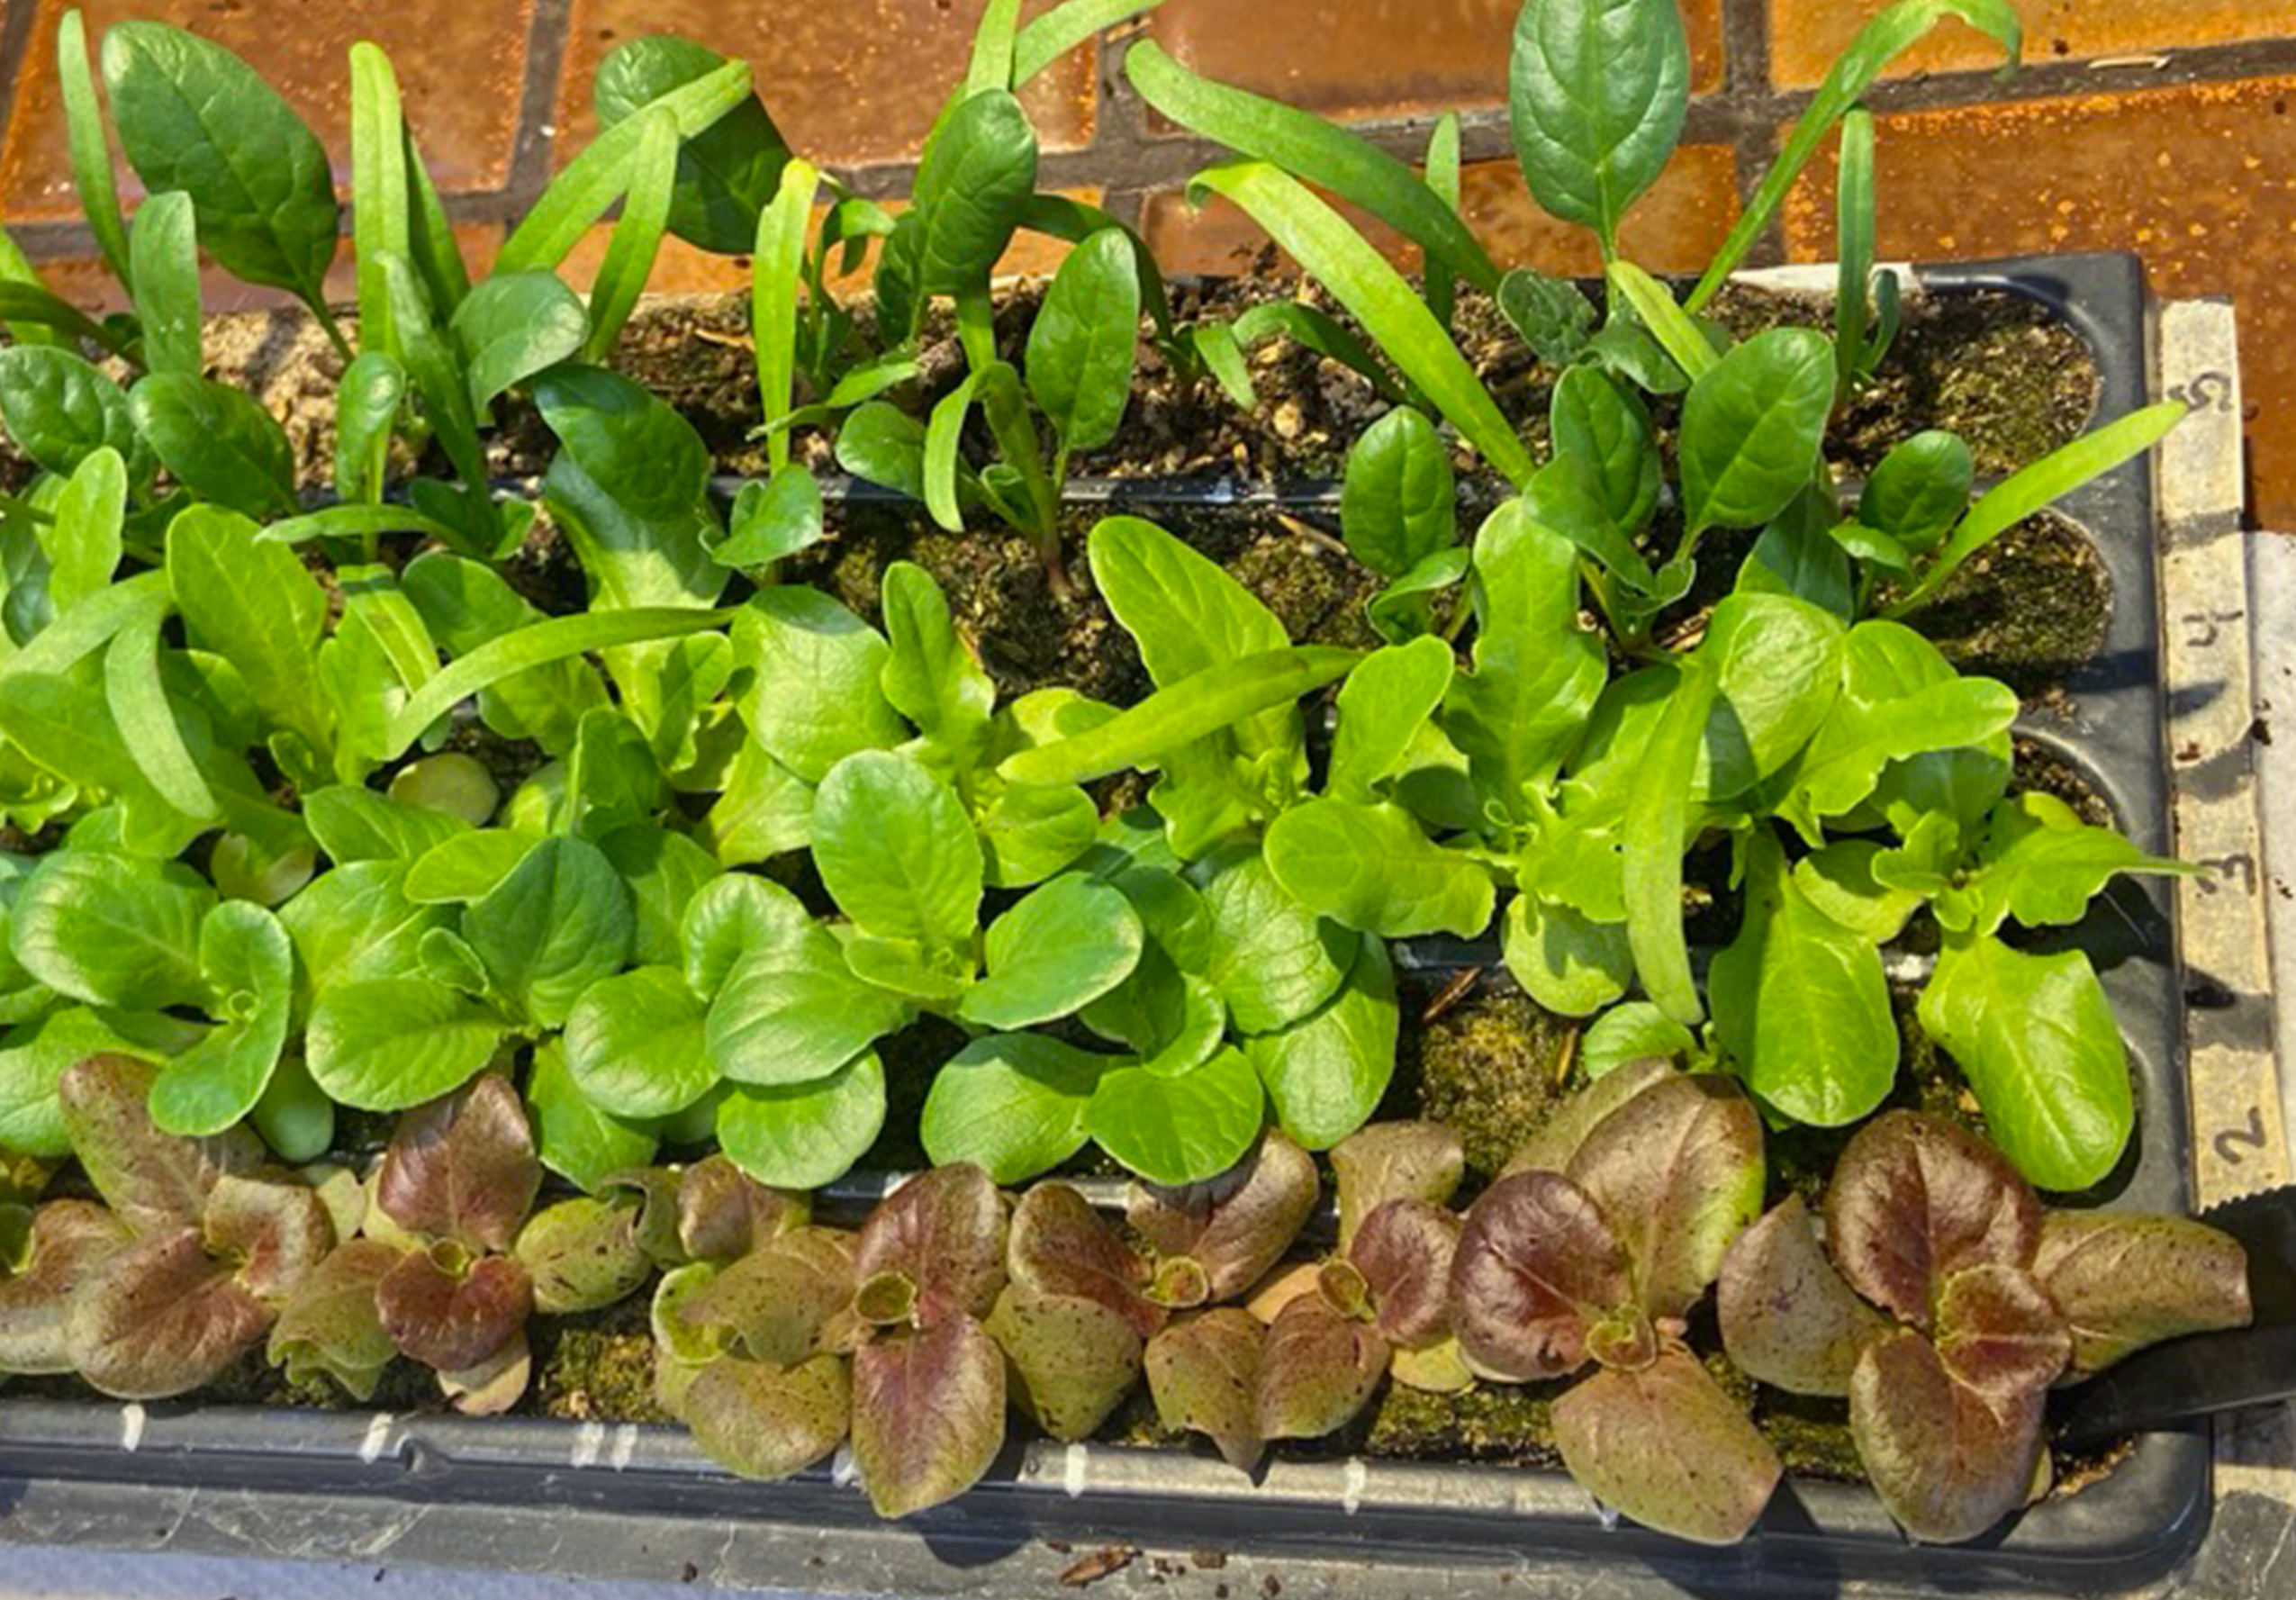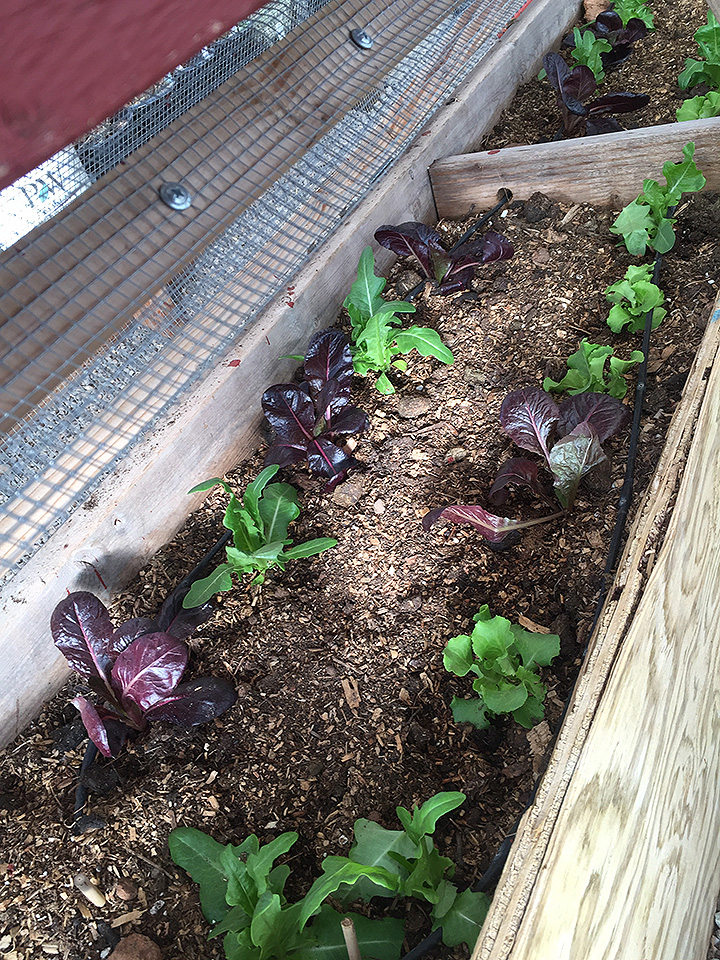
LETTUCES
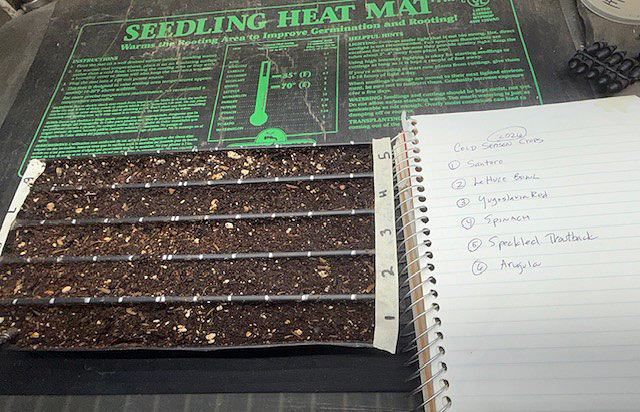
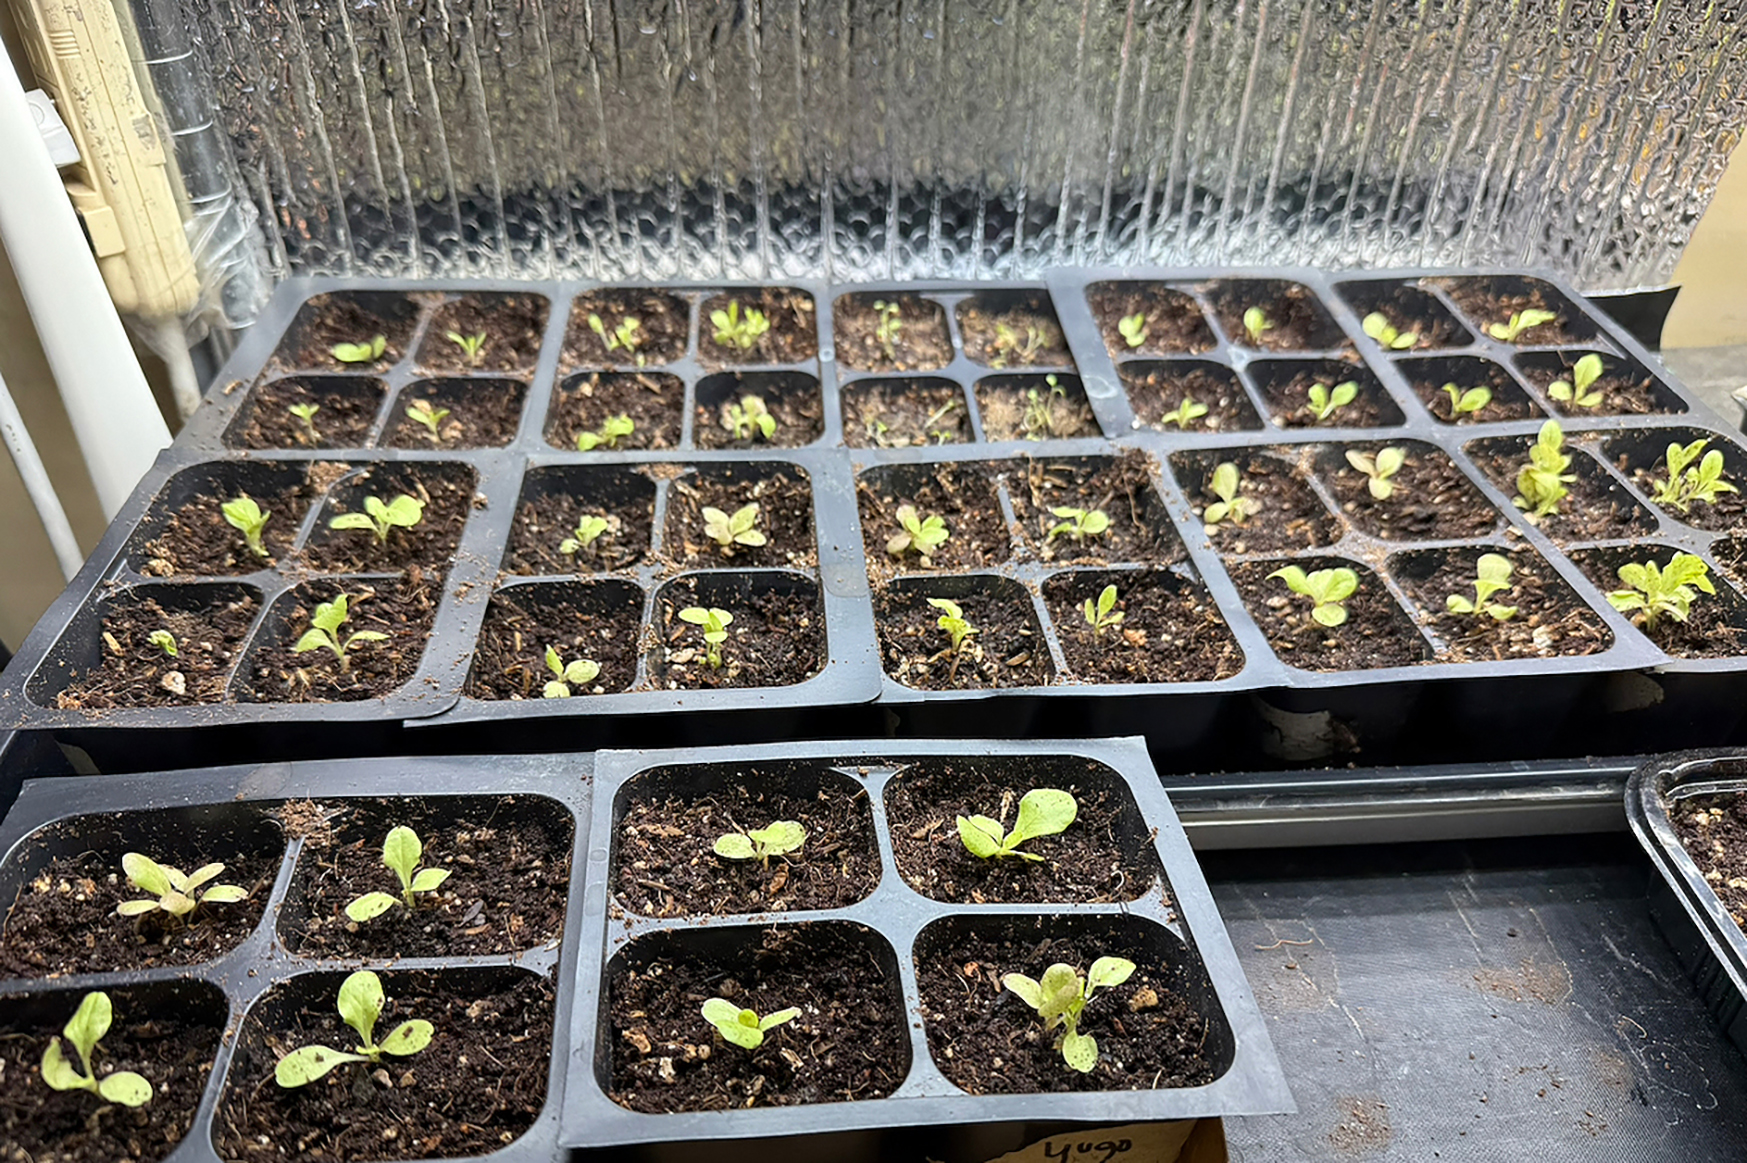
On Jan 31, I transplanted my teeny-tiny lettuce starts from their germination tray to 4 cell pony packs.
They are so small I had to be extra careful when pricking them out of the germination tray and transplanting into the pony packs. I have other posts with pics on the transplanting process. Then after transplanting them, I gave them a liquid mixture of B-1 and seaweed but no fish emulsion yet-too much nitrogen and I don’t want to stress the seedlings out more. The B-1/Seaweed combo is good for transplant shock. In fact I use it when planting other plants outside. Really helps. I planted more lettuces than I need, but am giving some to friends. I guess I didn’t follow my succession planting, thinking many would not germinate but I can’t complain. Now I just have to wait till they get big enough to transplant out. Maybe 3 weeks…
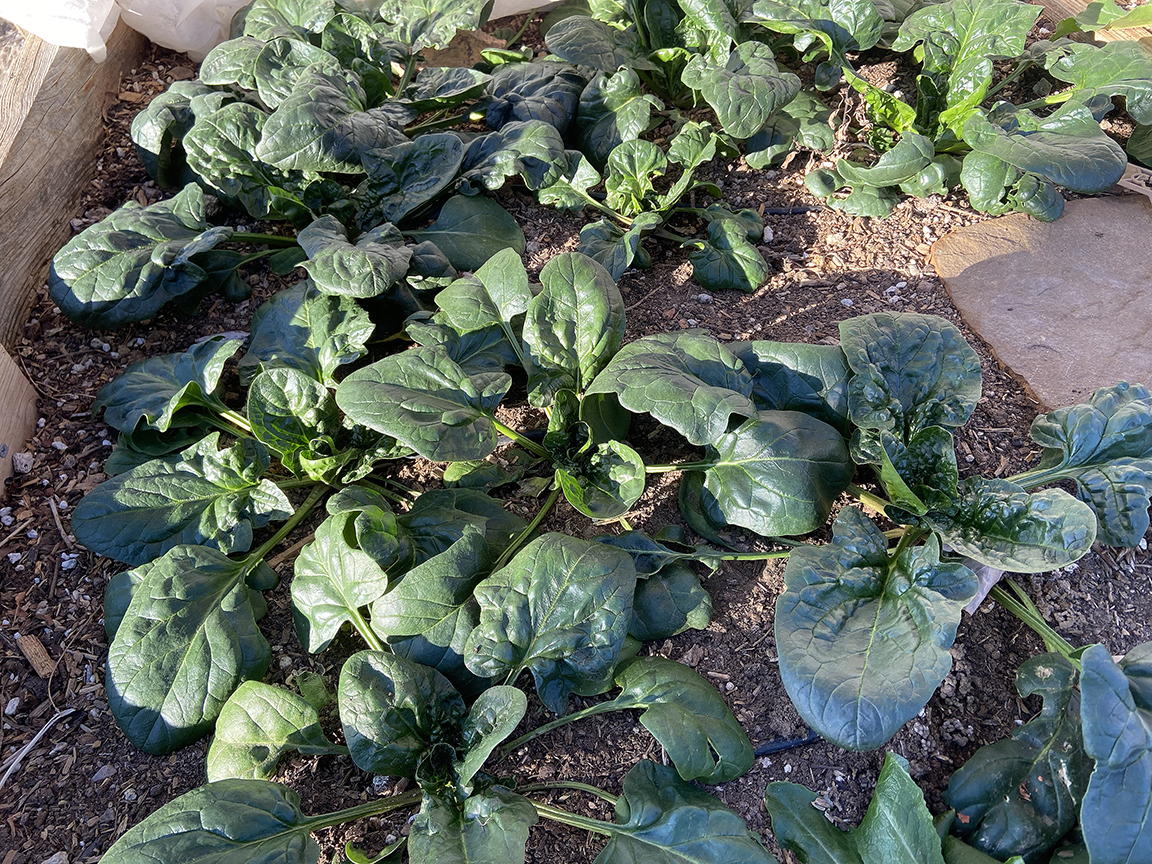
SPINACH
On another note, NONE of my spinach seeds germinated. So I took all four of my varieties of spinach seed packets and soaked 10 seeds in water of each variety to see if the outer coating of the seeds would softened. Why 10 seeds? Because it would tell me what percentage of the seeds would germinate-9 seeds represents 90% germination rate, 6 seeds represents 60% and so on.
 After 24 hours, I put the damp seeds on damp paper towels and carefully folded them up, labeled each variety, and put them in a plastic bag to see if they would germinate. I would see a little tail of a root called a radicle if the seeds were still good. NADA. So that means the seeds are too old to germinate. Spinach seeds usually last 2-3 years and mine were 4+ years.
So I bought more fresh varieties called Bloomsfield and Space locally. I wanted Carmel and Escalade spinach seeds but couldn’t find any online (maybe Etsy or Amazon but I really don’t know if they are a reliable source-I rather stick to a known seed company or grower). So now I wait for them to germinate.