Some years ago I had tree arborist, Tracy Neal, (now retired) out to the house to help me with pruning my fruit trees and give me advice on care of them. Not that I hadn’t already pruned (butchered) them that year, it’s just that I needed some tweaking with my pruning skills. Hmm..
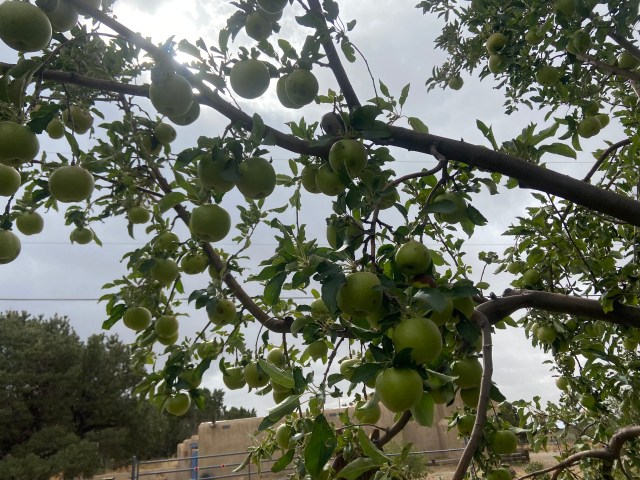
 When I put them in 30 years ago, I thought all fruit trees should be pruned in a open vase shape but that’s not true. Apple trees should have one central leader up the middle with all the branches off of it (kinda like a xmas tree) while apricots, peaches and plums have the open vase shape or modified vase shape. Sorry the photo is a little blurred. So what did I find out besides that?

-We had to trim up the four semi-dwarf apple trees and still do almost every year. At least I didn’t just top them off with shears (bad-no-no). At this age of the trees, it’s too late to do any major adjustment without drastically hurting the tree. (Thank god as I was afraid we might have to cut off some branches as big as my wrist). I told him I had cut off about a third of the top smaller branches of the Granny Smith apple as they grew about 6 feet tall last year and put out LOTS of apples. So much so that many of the branches got too heavy and broke off. So I put 1×4 boards or 2×4 boards that were tall enough with a V cut on the top end (to rest the limb vertically into) and had each heavy branch supported by the board that went to the ground. The weight of the branches on the board should hold the board up.
-Also I didn’t want the trees to get too high and out of control. When I asked how much to trim off each year, Tracy said you can trim back to the top of where you stand on the ladder (LOL) to help keep it contained. Also I was trimming out too much in the interior. I had to put cages around the apples as well to keep the deer from rutting on them as they killed one-half of one of my apple trees by rubbing their antlers on a limb in fall but the tree survived.
-I need to expand the wells around the trees a little, put some Yum-Yum mix fertilizer around them, sprinkle either Planters II mix or Azomite for minerals on top of soil and scratched in . Then innoculate soil with some mycorrhizal. Pound holes into ground to root area and put mycorrhizal in holes-then water well. Add 2-4 inches of mulch on top of soil keeping it 3″ away from the base of the trunk (if you smother the tree trunk with dirt up to the trunk, it will die).
-The apricot tree is fine and he said each apricot tree is a piece of art. Just had to trim out a few branches that were growing in a walking path and add the above amendments. Unfortunately my one apricot tree is now growing in the shadows of pinyon trees, so now it doesn’t produce fruit. But you know what I call an apricot tree? A good shade tree! Plus it has fantastic color in the fall. Any tree that can grow here is good!
-I have one young pear tree that produced 2 pears last year and hopefully will produce more this year. The deer ate one of the fruit so now they have a cage around it to keep off the deer.
-I asked him about how to water an established tree and he suggested using a soaker hose on each tree at the drip line and inside the well. Water deeply (longer) instead of shallow watering. My spaghetti drip line is not enough anymore.
-I had 2 dead peach trees and 1 dead plum tree. I’m NOT going to replace them as they all require more moisture and are not very drought tolerant. I’ll turn off the drip system to the dead ones and take them out. So the only producing fruit trees left are four apple and one pear.


")